📄 Summary: What You’ll Learn in This Article
This article explains how super-administrators can create new users in Marmind and what information must be provided during the process.
-
Step-by-Step guide on how to add new users
🧑🤝🧑 Who Should Read This?
This article is most useful for:
-
Admins or Super Admins who are in charge of administering the user list of their company.
✔️ Prerequisites: What Should You Know Before Getting Started?
Level: Easy
Access required: Super-Admin rights
-
Basic understanding of the navigation of the settings menu is required.
How to Create a New User
Only super-administrators can create new users. The number of available user accounts depends on your contractually defined license limits.
To create a new user:
-
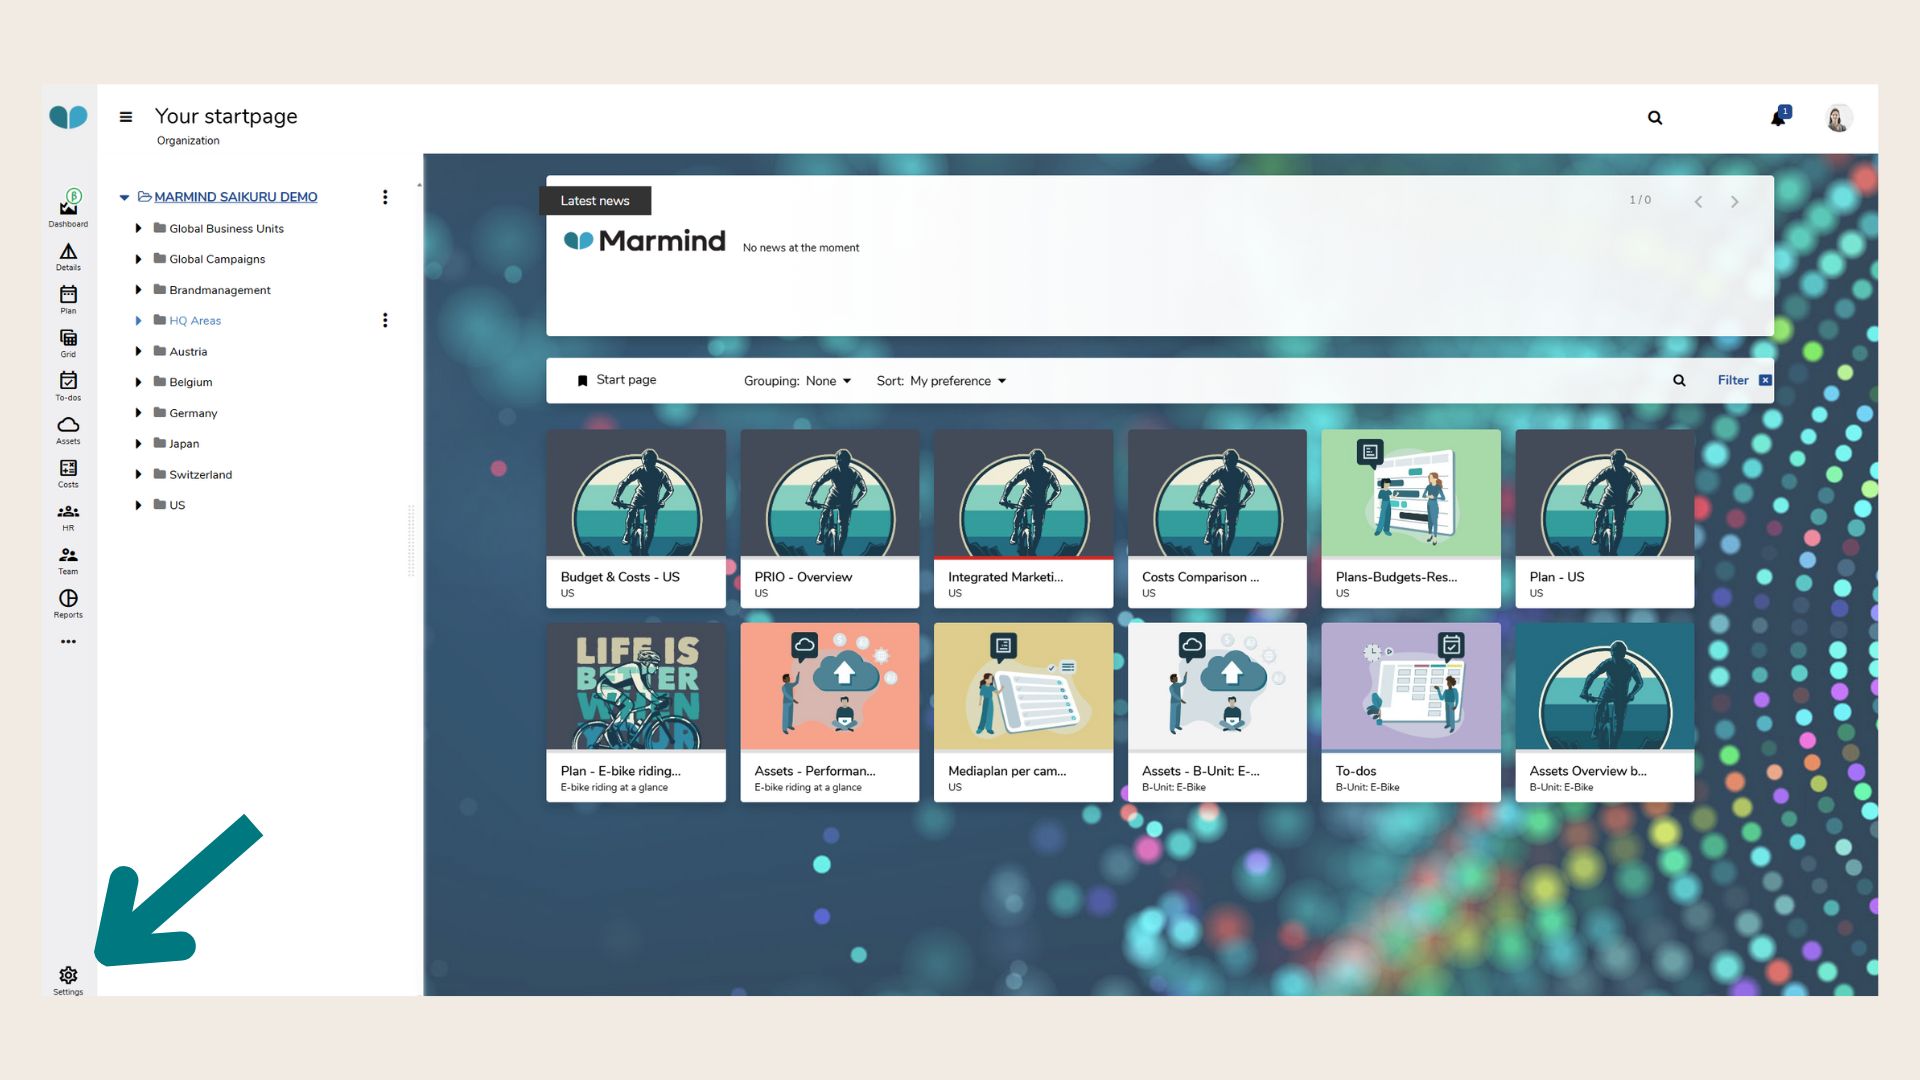
Click on “Settings” in the main menu.
-
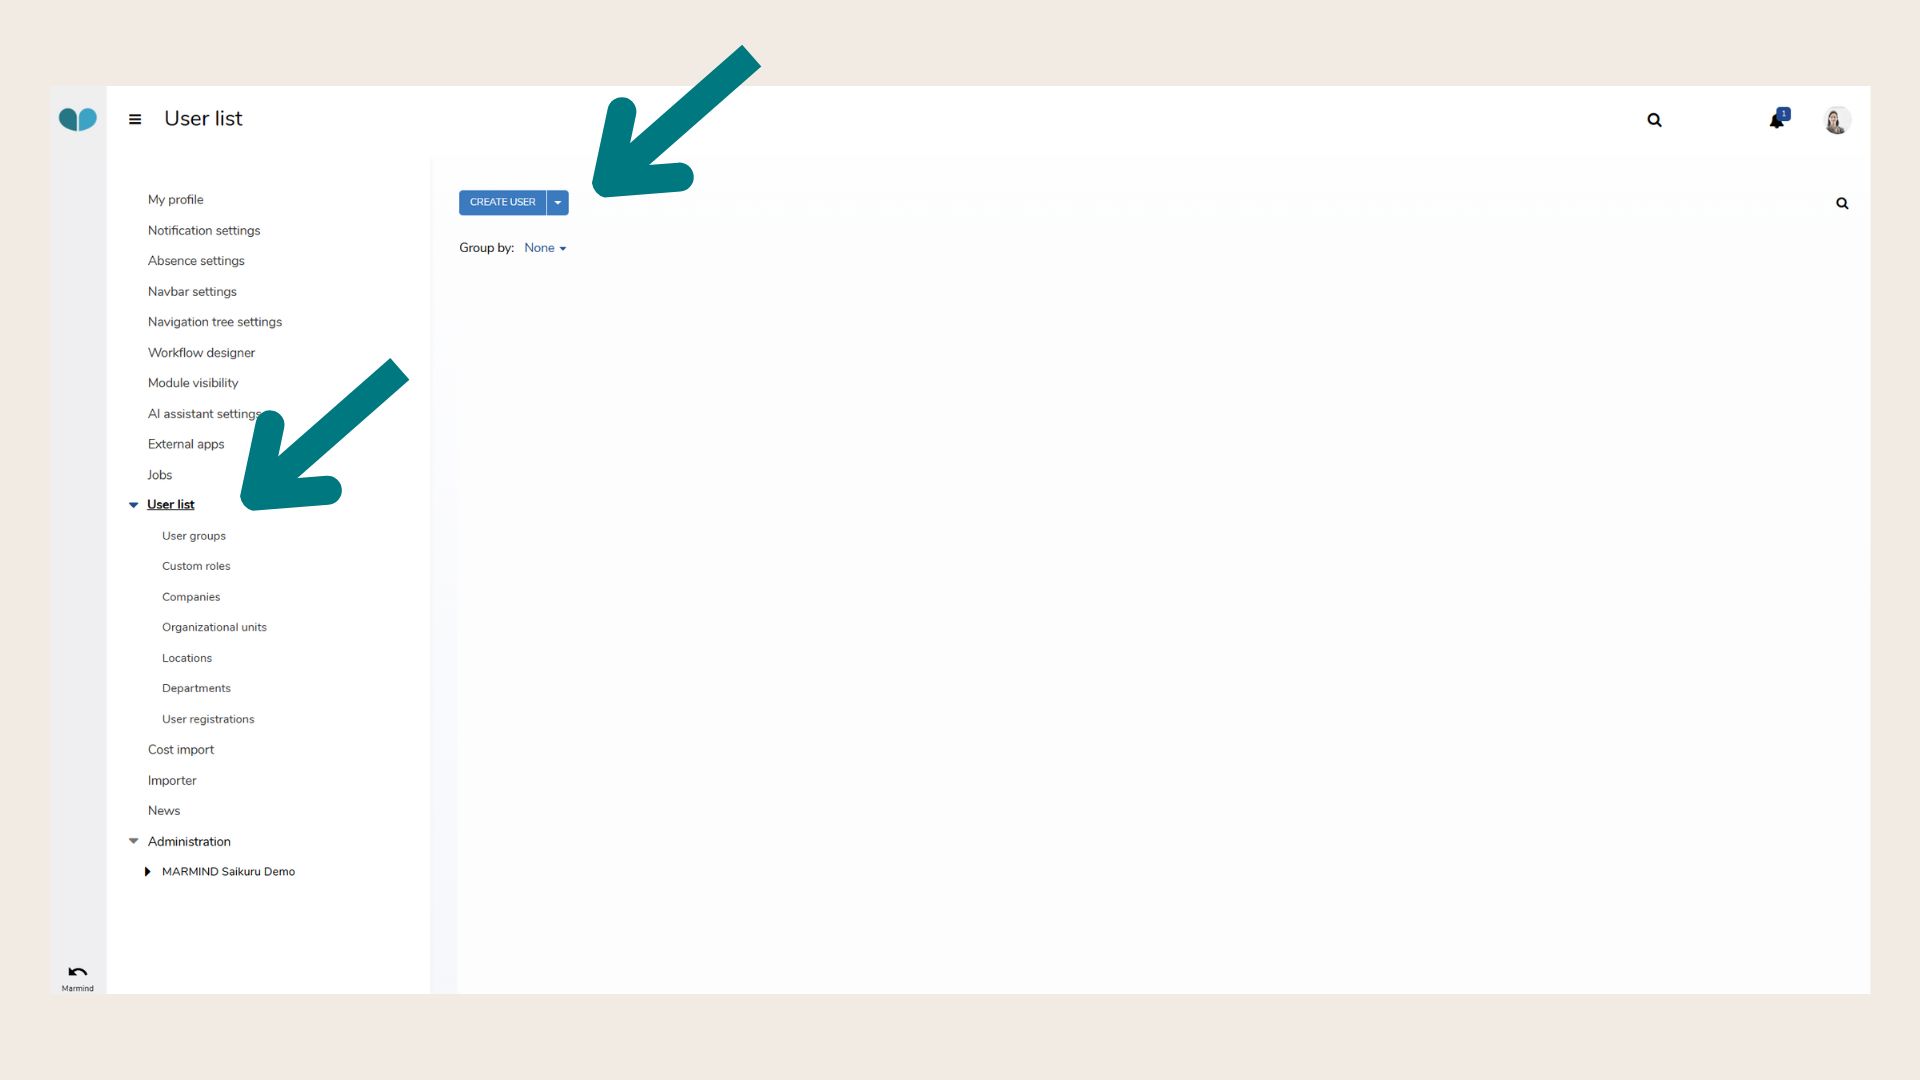
In the navigation tree, select “User list.”
Click the “Create user” button.
-
Enter data:
An input window will open where you must enter the following user data:
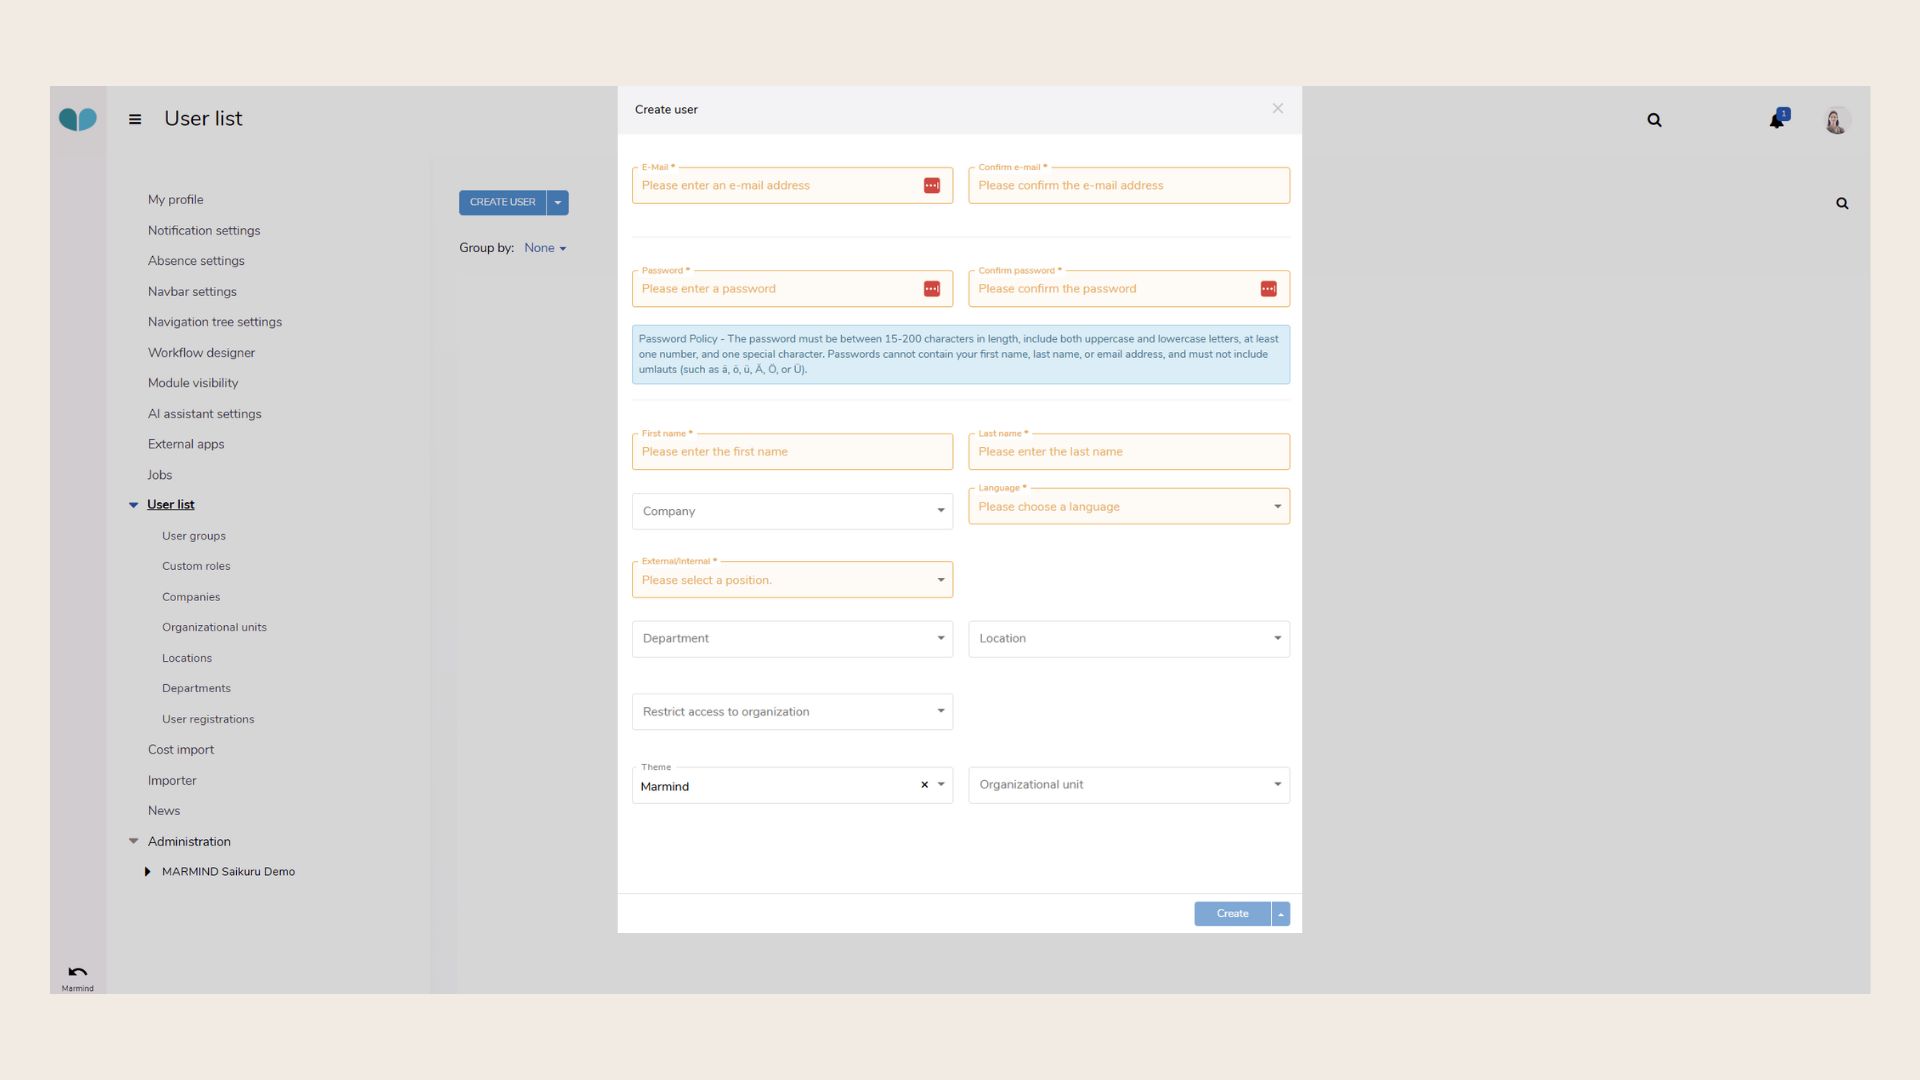
Required Information:
-
Email address and password
The access data must be manually communicated to the new user by the super-administrator.
❗️Once saved, the password cannot be changed by the super-administrator. -
First name and last name
-
Company* and language (German/English)
-
Position* (Internal/External)
-
Department*, location*, and organizational unit*
⚠️ These fields cannot be edited by the user later. Only super-administrators can change them.
-
Theme (background image for login and start page)
📌 The user list can later be grouped by fields marked with an asterisk ().*
Click “Create” to save the new user.
They will now appear in the User list.
You can group users using company, department, etc.
Creating a user does not automatically grant access rights to any objects. This needs to be done in the next step.
❓ FAQs