📄 Summary: What You’ll Learn in This Article
This article explains how the Marmind - Censhare integration enables streamlined digital asset management by connecting Marmind’s marketing workflows with Censhare’s centralized DAM system. It covers core features such as asset referencing, SSO, metadata sync, and permission control, and provides step-by-step instructions for uploading and managing assets via both platforms.
-
Overview of Key Functionalities
-
Prerequisites
🧑🤝🧑 Who Should Read This?
This article is most useful for marketing teams, campaign managers, product owners, and digital asset managers who work with both Marmind and Censhare. It’s especially relevant for users responsible for uploading, managing, or referencing assets in Marmind, and for admins or IT staff setting up the integration, permissions, and SSO configuration.
✔️ Prerequisites: What Should You Know Before Getting Started?
Level: Intermediate
Access required: You will only be able to see this option if your company is using the Censhare integrator.
-
To get the most out of this article, readers should have basic familiarity with Marmind and Censhare and be able to navigate both systems.
Introduction to the Marmind - Censhare Integration
The Marmind x Censhare integration connects Marmind with Censhare’s Digital Asset Management (DAM) system. It enables seamless asset usage in marketing workflows while maintaining a single source of truth in Censhare.
Key Principles & Features
Assets
-
Asset binaries are stored exclusively in Censhare. Marmind stores a reference only. Deleting an asset in Marmind removes the reference, not the original.
-
Censhare is the leading system for media asset metadata and look-up value lists.
-
A single Censhare asset can be referenced from multiple places in Marmind. Changes to shared metadata affect all references.
-
Asset Referencing via Asset Picker: Reference Censhare assets into Marmind campaigns/products. Opens Censhare's Asset Picker in a new tab.
-
Asset Upload from Local Device: Uploads go directly to Censhare; Marmind holds a reference, ensuring centralized storage.
-
Duplicate Asset Check: Marmind checks for duplicates before upload, allowing the user to reuse an existing asset or create it as a new one in Censhare.
-
Asset Versioning: New versions added in Marmind sync to Censhare's version history and vice versa - new versions added in Censhare sync to Marmind’s version history.
-
Metadata & Workflow Synchronization: Asset names can be set up to sync both ways. Everything in the Censhare tab in the asset details is synced between the two systems.
-
Deeplinking: One-click access from Marmind to the corresponding asset in Censhare and vice versa is available via the “Open in Censhare” or “Open in Marmind” actions.
Tree Objects
-
Marmind is the leading system for tree object metadata (sync direction: Marmind → Censhare only).
-
Each tree object has two status fields: its own status, which is editable in the system that owns it, and the status of the same object as seen from the other system, which is read-only.
-
The Marmind status can be set and updated in Marmind. It is visible in Censhare as a read-only field called "Marmind status".
-
The Censhare status can be set and updated in Censhare. It is visible in Marmind as a read-only field called "Censhare status", displayed after the Marmind status field.
-
Access & Permissions
-
Single Sign-On (SSO): Uses Censhare's Keycloak for authentication. One login grants access to both platforms.
-
Permissions:
-
Assets permissions are based on Censhare's domain system. Users can only act within their assigned domains. Users without Censhare permissions are restricted from asset operations, except for viewing asset containers in Marmind — and only if they have view asset permissions. In this case the asset preview will be shown with a blocked placeholder image but the asset name will be visible.
-
In case you need more assistance with Censhare, please find the documentation here: Censhare Documentation
The Marmind–Censhare integration connects Marmind's campaign management domain structure with Censhare as the underlying Digital Asset Management (DAM) system. The integration operates on two distinct levels:
-
Domain level (tree objects): Marmind's organizational structure — workspaces, campaigns, projects, actions, and work packages — is represented in Censhare as a navigable asset hierarchy. This allows Censhare users to work within the context of Marmind campaigns without leaving their workspace.
-
Media asset level: Individual media assets (images, videos, documents, etc.) are stored in Censhare and referenced in Marmind. Users can upload assets from Marmind directly to Censhare, select existing Censhare assets for use in Marmind, and keep the common metadata in sync between both systems.
The two levels are interconnected: when a media asset is assigned to a Marmind context (e.g., a campaign), its parent tree objects are automatically created and linked in Censhare to preserve the full hierarchy.
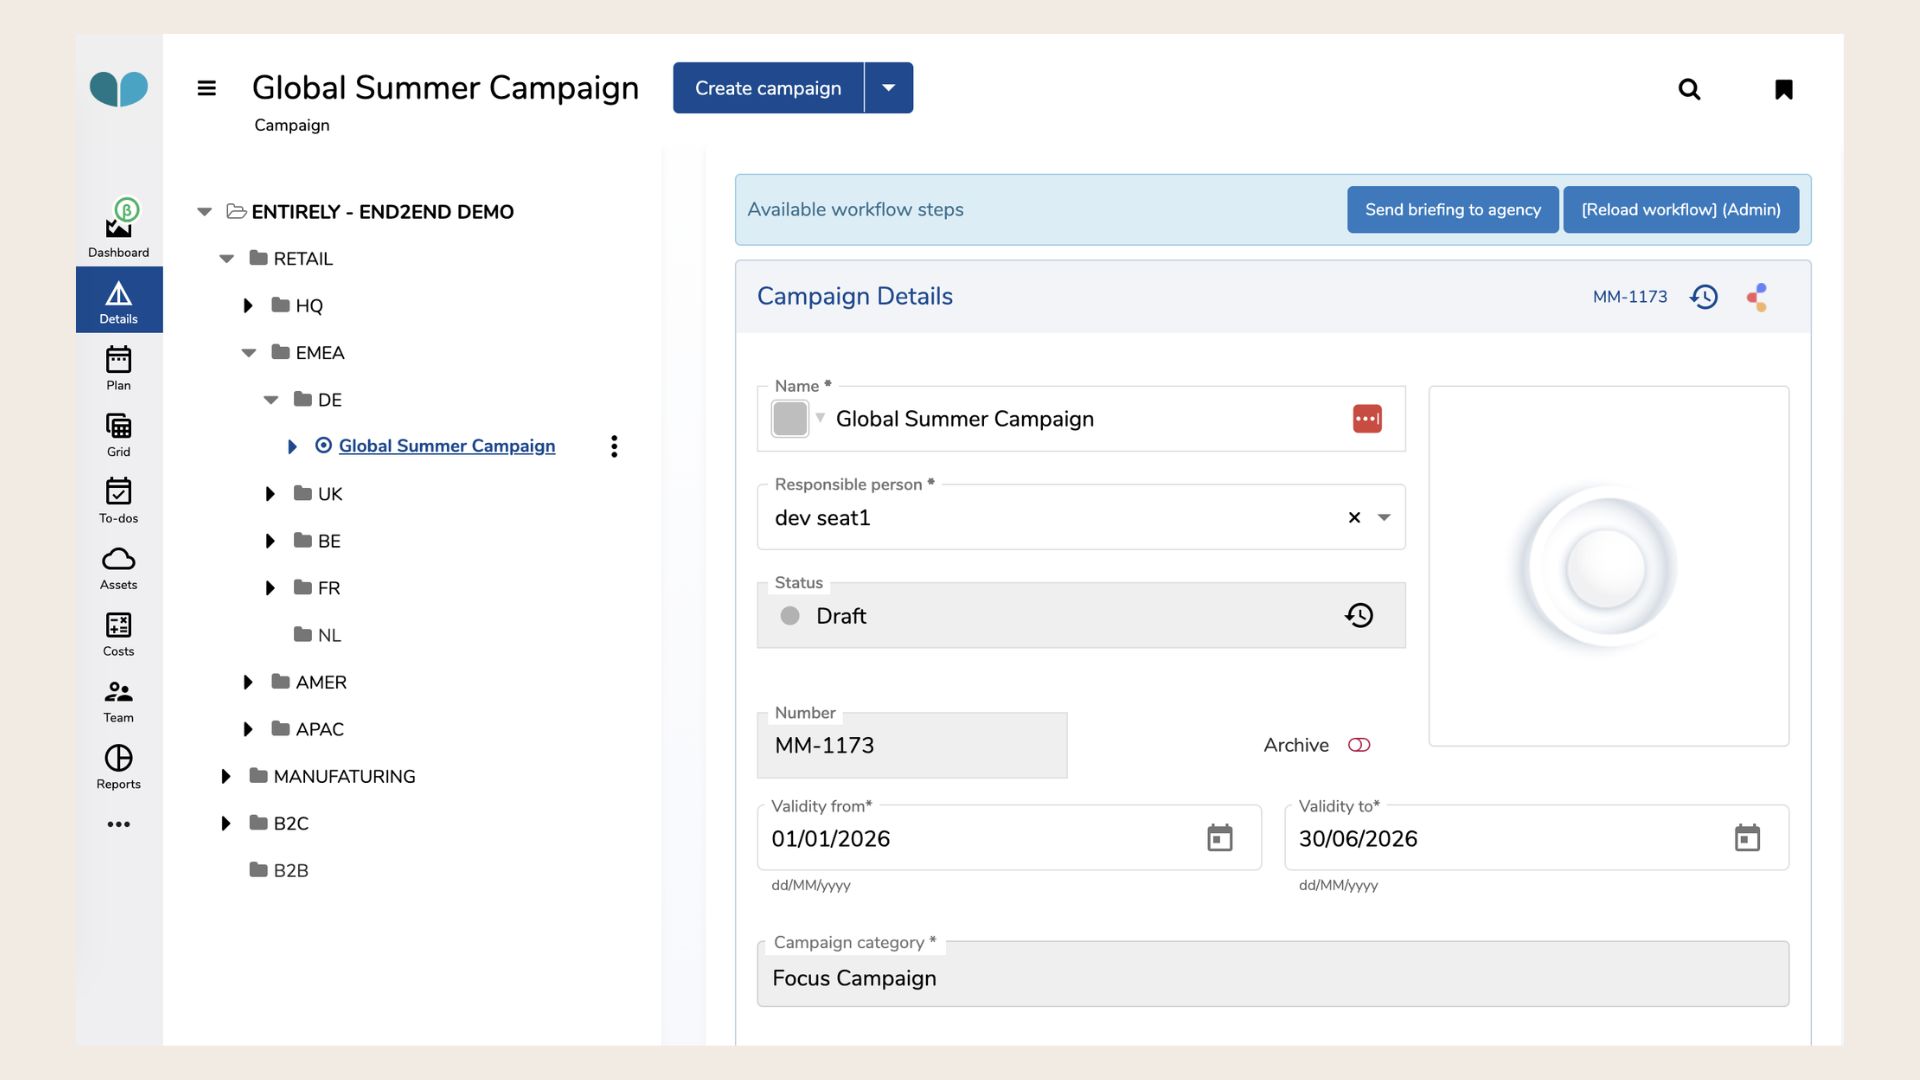
Example: A media asset is uploaded to the campaign "Global Summer Campaign", which sits under workspace "DE", which sits under workspace "EMEA", which sits under workspace "RETAIL", which in turn sits under the organization root "ENTIRELY - END2END DEMO". When the asset is uploaded, Censhare automatically receives: the asset itself, linked to "Global Summer Campaign" as its direct parent — plus "DE", "EMEA", "RETAIL", and "ENTIRELY - END2END DEMO" created as tree object assets in Censhare with the correct parent-child relations between them. No other workspaces under "EMEA" — such as "UK", "BE", "FR", or "NL" — are created. Only the direct path from the asset up to the root is synced.
Prerequisites for the Use of the Connector
-
An active Censhare Cloud instance is required. The integration does not support Censhare Classic (on-premise) directly.
-
Customers with an existing Censhare Classic system can either migrate to Censhare Cloud or use the Censhare Cloud Bridging Option to connect their existing system.
-
SSO (Single Sign-On) is a core element of the integration. Users authenticate once and access both systems seamlessly.
The Difference between the two systems
There are a few important distinctions to keep in mind when working with both systems:
-
Asset vs. Object:
In Censhare, everything is treated as an asset.
In Marmind, only media files (e.g. images, PDFs or videos) are called assets - everything else, such as campaigns, is classified as an object.
As a result, only files that are considered assets in both systems will be synchronized, including their metadata. -
Real-Time Sync:
Asset synchronization works in both directions. No matter which system you use to update an asset, the changes will instantly appear in the other system. -
Asset Reuse in Marmind:
Media assets are physically stored in Censhare. In Marmind, you only see and use references to these assets. This means a single Censhare asset can be reused multiple times in Marmind. -
Be Aware of Shared Changes:
Because assets are shared across systems, any update to an asset will affect all places it’s used, so proceed with caution when editing. -
User Accounts and Permissions:
Marmind and Censhare use separate user accounts for now. Your admin will handle permissions on both sides. However, thanks to SSO (Single Sign-On), you can log into both systems at the same time with a single login.
❓ FAQs