📄 Summary: What You’ll Learn in This Article
This article explains how user roles and permissions work in Marmind. It provides an overview of the different user roles, how to assign them, and how permissions are structured within the platform. By understanding user roles, administrators can control who has access to what and ensure a secure and organized workflow.
-
Default user roles and their permissions
-
Understanding the top-down permission structure
-
Steps to add users and assign them roles
-
Managing permissions for different objects and projects
🧑🤝🧑 Who Should Read This?
This article is most useful for:
-
Marketing Professionals, Marketing Operations Managers, Business leaders who are interested in Marmind’s features
-
New Marmind Users
✔️ Prerequisites: What Should You Know Before Getting Started?
Level: Easy
Access required: None
-
No prior knowledge is required. This is an introductory article for those exploring Marmind for the first time.
Understanding Users, User Groups, Teams and Rights & Roles in Marmind
Users, User Groups, Teams, and Rights & Roles — are all closely connected in MARMIND and form the foundation for managing access and collaboration. Here’s how they differ and how they work together:
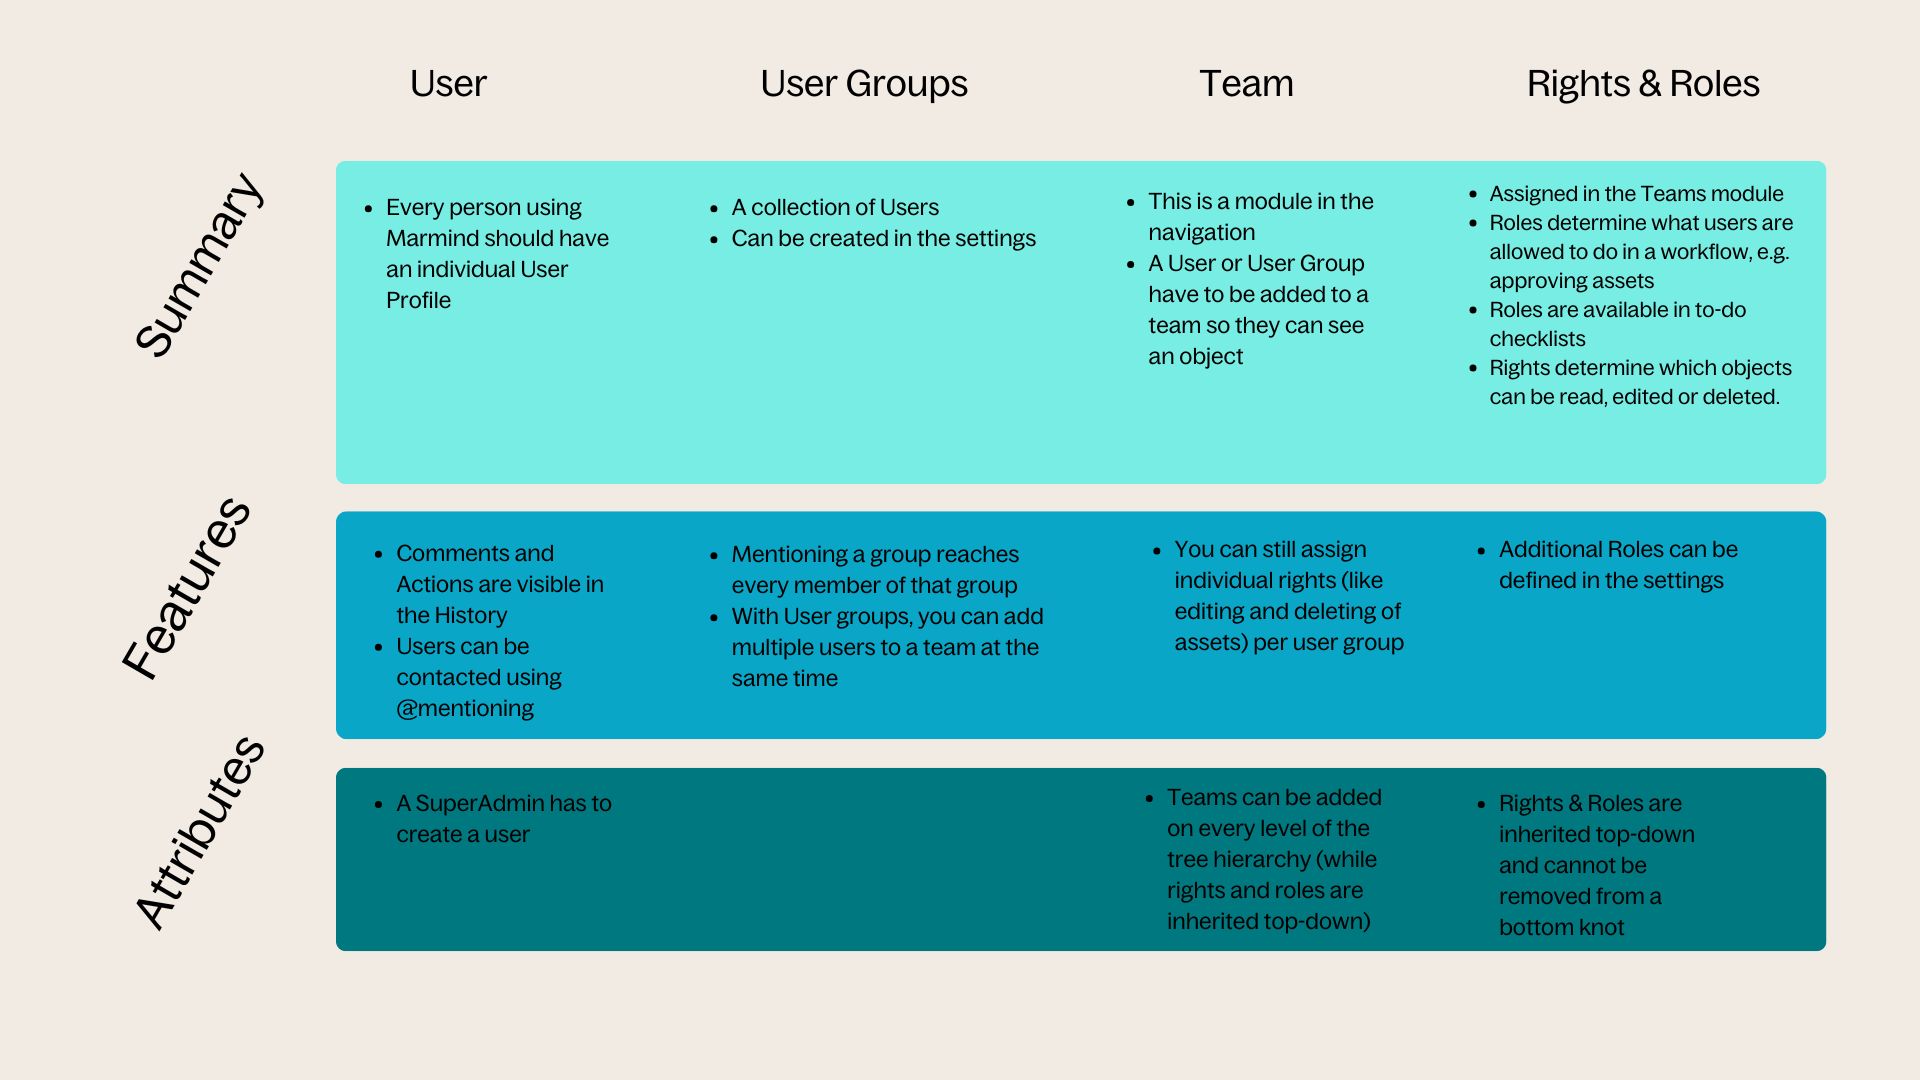
How they work together:
|
Concept |
Example Use Case |
|---|---|
|
User |
Dana logs into Marmind to work on a campaign |
|
User Group |
Dana is part of “Marketing Team DACH” user group |
|
Team |
The DACH group is added to the “Q2 Campaign” team |
|
Roles & Rights |
The group is assigned the role “Contributor” on that campaign |
Did you know? You can define custom roles for visibility rules regarding fields or workflows if needed!
How Permissions Work
Marmind follows a top-down permission structure, which means that permissions assigned at a higher level (such as a workspace) automatically apply to all sub-objects (such as campaigns and projects). It is not possible to remove permissions for specific sub-objects once they are inherited from a higher level.
A good practice is to assign only the most basic permissions at the highest level and grant additional permissions lower down in the structure where needed.
Adding Users to Teams and Assigning Permissions
Users can be added to specific objects such as workspaces, campaigns, projects, or actions.
Users have to be added by a SuperAdmin in the settings before they can be assigned to a Team. When a user is added, they gain access to that object and all sub-objects.
Make sure that you are in the correct position in the hierarchy tree when adding a user because this determines the levels in which the user is assigned rights.
To add a user:
-
Navigate to the Team section within the selected object.
-
Click “Add User” to open the user list.
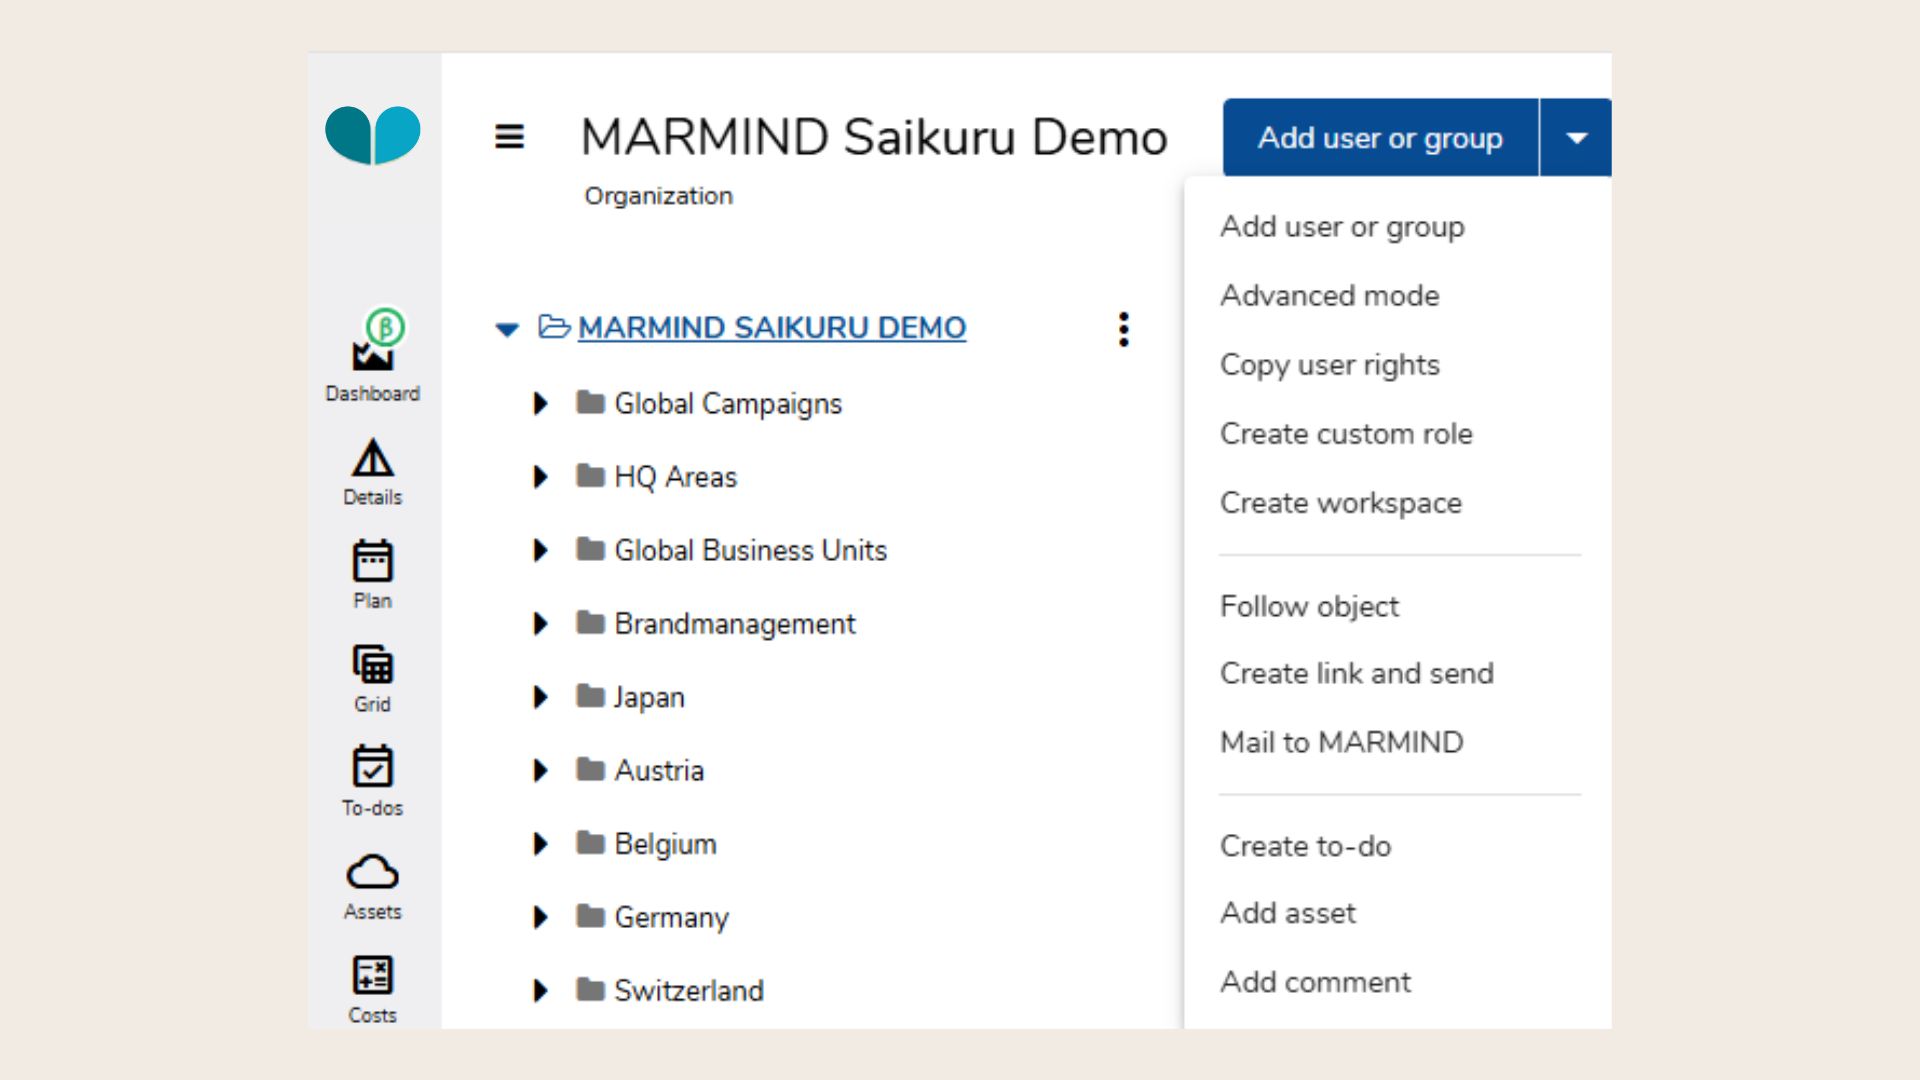
-
Use the search bar to find the user.
-
Select the user and click “Continue”.
-
Assign a role and adjust permissions as needed.
-
Click “Save” to confirm the assignment.
.jpg?cb=1bf8ffd808da5dd621121a3863439be4)
After adding a user, a window will appear where their specific permissions can be configured. These permissions control access to different areas such as:
-
Collaboration tools (tasks, notifications, comments).
-
Budget and cost management.
-
HR and team-related data.
-
Marketing objects (campaigns, assets, workflows).
-
User groups and access control settings.
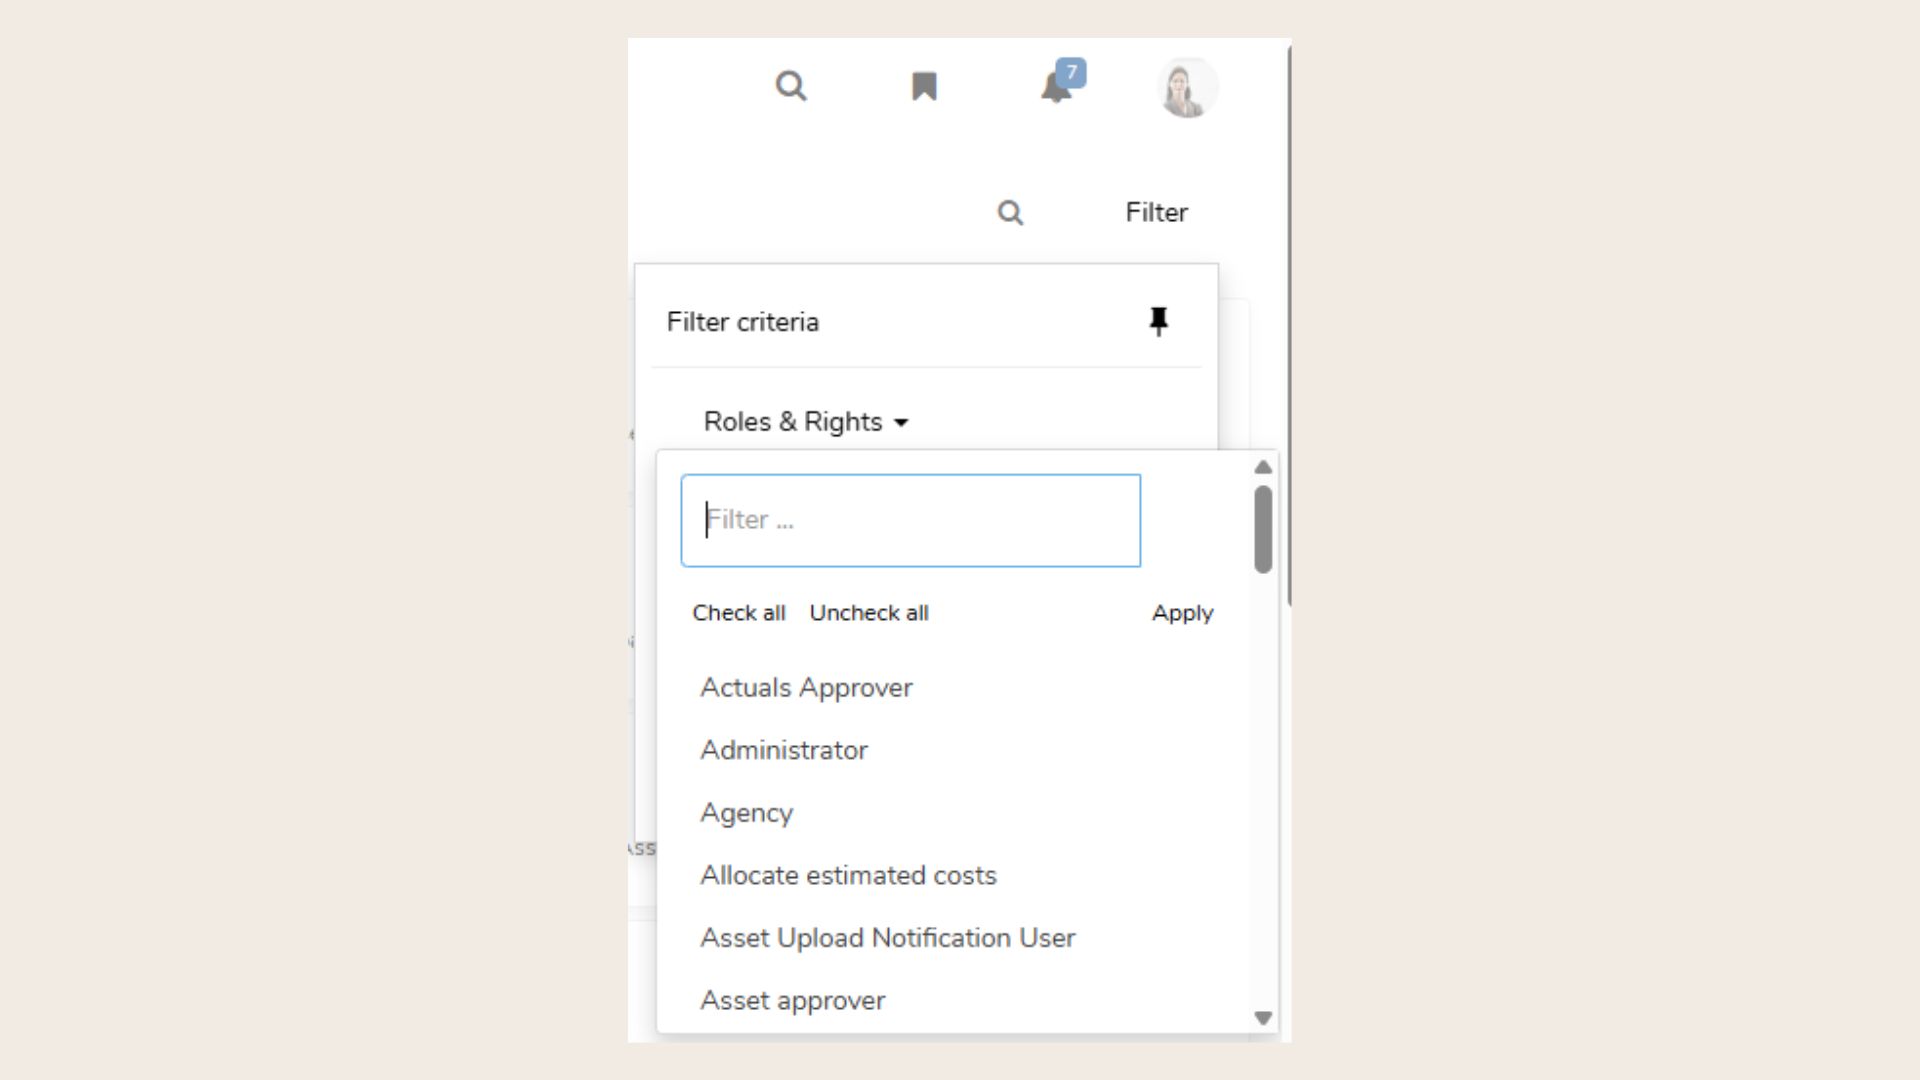
When you are looking for a specific User Group, you can do so using the “Filter” option on the top right corner in the “Team” section: