📄 Summary: What You’ll Learn in This Article
This article explains how to navigate the Marmind user interface. Learn how to use the navigation bar, access objects through the navigation tree, and manage content in the main display area. You’ll also discover how to use bookmarks to quickly access important views.
-
Overview of the Navigation bar, Navigation tree, and Content area
-
Accessing different sections like Overview, Plan, and Assets
-
Managing objects through the navigation tree
-
Using bookmarks
🧑🤝🧑 Who Should Read This?
This article is most useful for:
-
Marketing Professionals, Marketing Operations Managers, Business leaders who are interested in Marmind’s features
-
New Marmind Users
✔️ Prerequisites: What Should You Know Before Getting Started?
Level: Easy
Access required: Existing User Profile
-
No prior knowledge is required. This is an introductory article for those exploring Marmind for the first time.
Logging into Marmind
In order to log in to Marmind, access the provided link for your company and enter your credentials:
.jpg?cb=108fa7fa1946a0f26de70f7eb183417d)
Some clients use SSO for signing into Marmind, some create users themselves. Make sure to check with your Marmind Project Lead to find out the best option for you.
Understanding the Marmind User Interface
Marmind’s interface is divided into three main sections:
.jpg?cb=f64a9c47472e8c4d51cc33a4047f7116)
-
Module Bar (Left Side) – Switch between different areas of each object (Overview, Plan, Assets, To-Dos, Costs, etc.). This is displayed on all pages of the application.
-
Navigation Tree (Middle) – Access objects such as workspaces, campaigns, projects, and actions using a structured hierarchy.
-
Content Area (Right Side) – Displays detailed content based on the selected object and section.
Using the Module Bar
The module bar allows users to move between different sections of an object. These sections include:
.jpg?cb=80d457778823a0e83e3c1ed362130c40)
Using the Navigation Tree
The navigation tree in the middle section of the interface provides a structured way to access workspaces, campaigns, projects, and actions. Clicking on an object in the tree will display its contents in the content area.
The hierarchical tree structure in Marmind forms the basis for navigation and roles and rights. The structure is used to navigate through the functional modules and to display and edit the corresponding content based on the context. The hierarchical structure is also used to map out Budget & Cost features as well as import matchings for e.g. mediaplans.
The tree structure represents the beginning and backbone of every successful MARMIND project!
.jpg?cb=257666197120da272b290cab613a92ce)
Always make sure you have selected the correct module in the module bar when looking for specific information of any object.
Key Functions in the Header
The header contains important tools for quick access:
-
Marmind Icon – Click to return to the start page.
-
Navigation Toggle (Three Striped Icon) – Opens or closes the navigation tree.
-
Title: Shows the selected and active object name.
-
Next Steps Menu – Shows suggested actions based on the current module.
-
Global Search (Magnifying Glass) – Search for campaigns, tasks, and files.
-
Bookmark (Rectangle Icon) – Save frequently used views for quick access.
-
Notifications (Bell Icon) – Displays system alerts and updates.
-
User Settings (Profile Picture/Initials) – Access profile management and logout options.
.jpg?cb=88d0d502fe3830599b9f877b0ba2f881)
Using Bookmarks for Quick Access
Bookmarks help you quickly return to a specific view in MARMIND — including all filters and settings — with just one click.
How Bookmarks Work
-
Context & Module-Based: Bookmarks are tied to a specific module and context (e.g., a folder or campaign). When you click a bookmark, it opens exactly the same view you saved — including filters, selected timeframes, and layout.
-
Easy Sharing: You can share bookmarks with other MARMIND users to make it easier for your team to access the same view.
-
Access Rights Apply: Only users who have permission to access the context of the bookmark can use it.
– Exception: If the bookmark is saved in the top-level context (the root folder), it can be shared more broadly, since more users usually have access to it.
Creating, taking over and opening Bookmarks
You can find the Bookmark icon here:
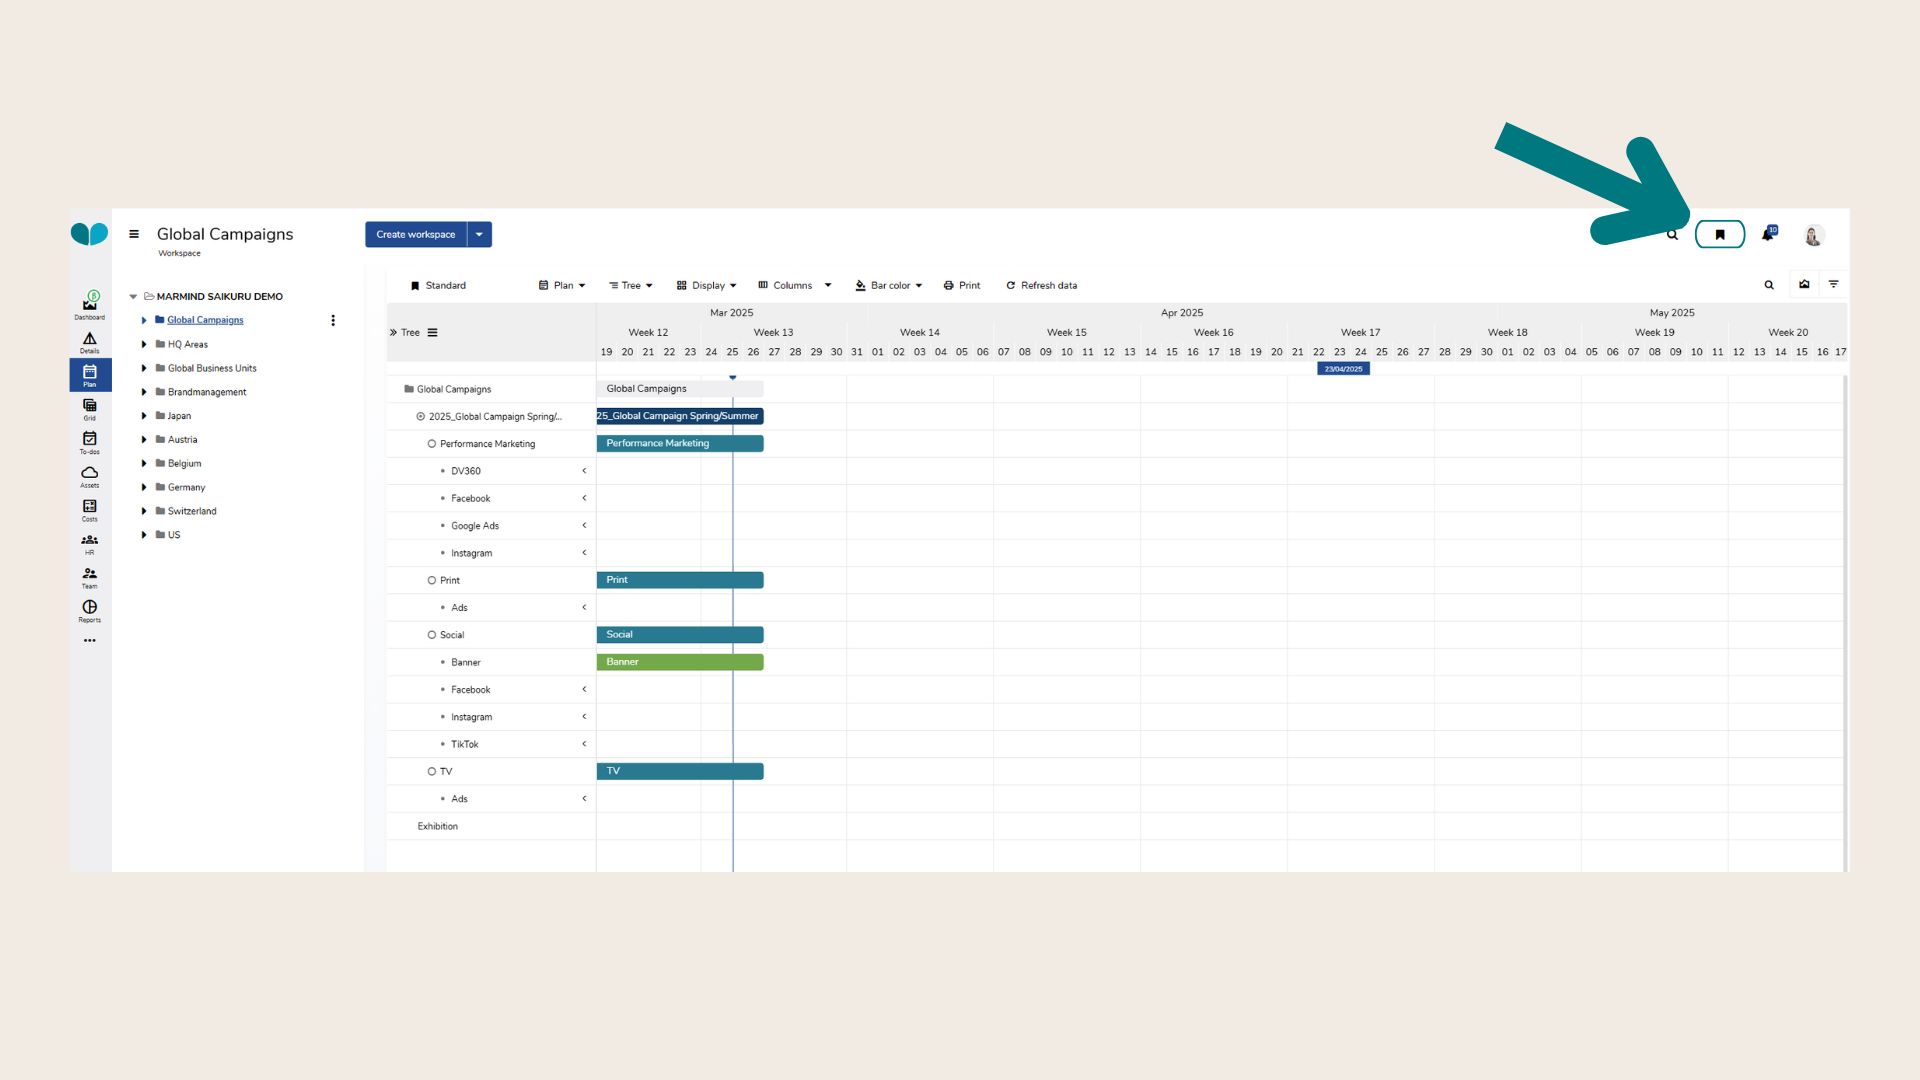
Can’t find the bookmark icon? You probably have not selected an object in the navigation tree yet. Click on any object in the navigation tree and the icon should appear.
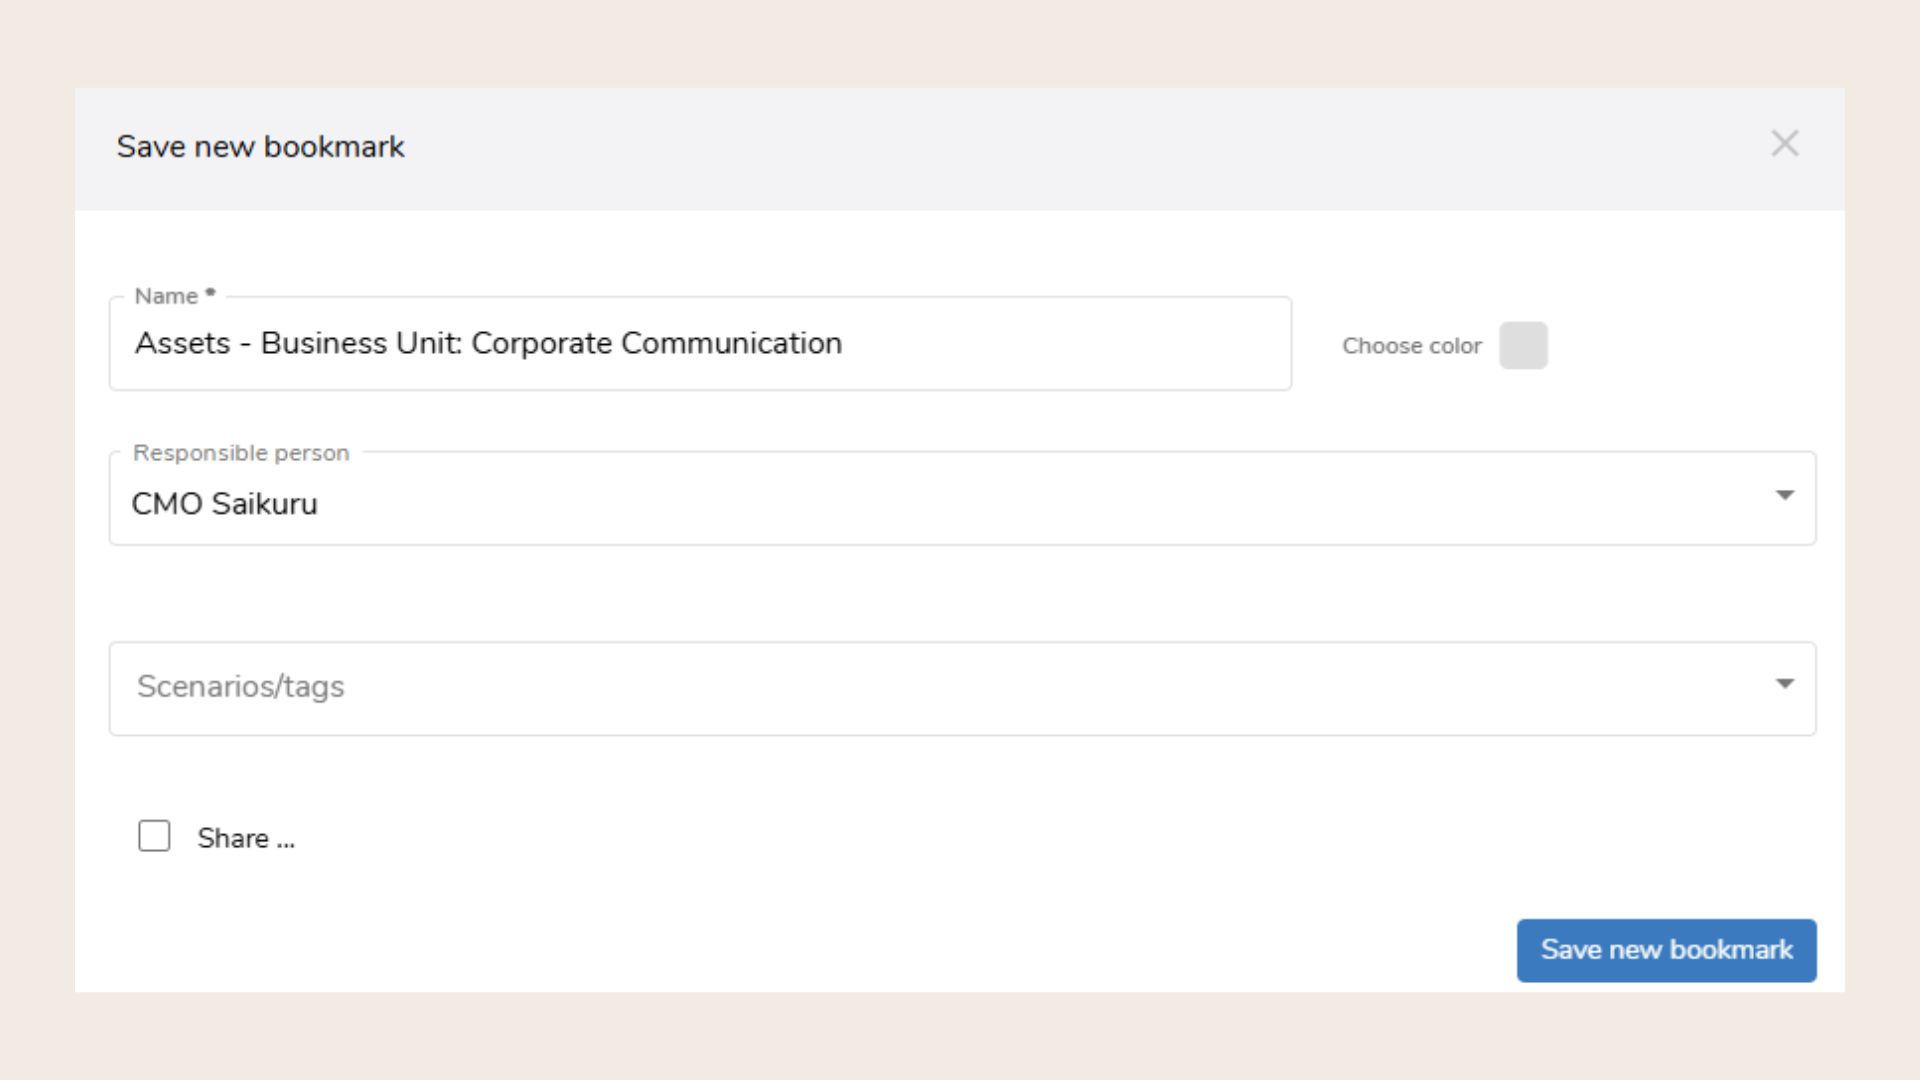
To save a bookmark, click on the bookmark symbol and “Save new bookmark”:

Assign a new name and color. Add tags and choose if you want to share it with the team, or certain members of your team and click “Save new bookmark”.
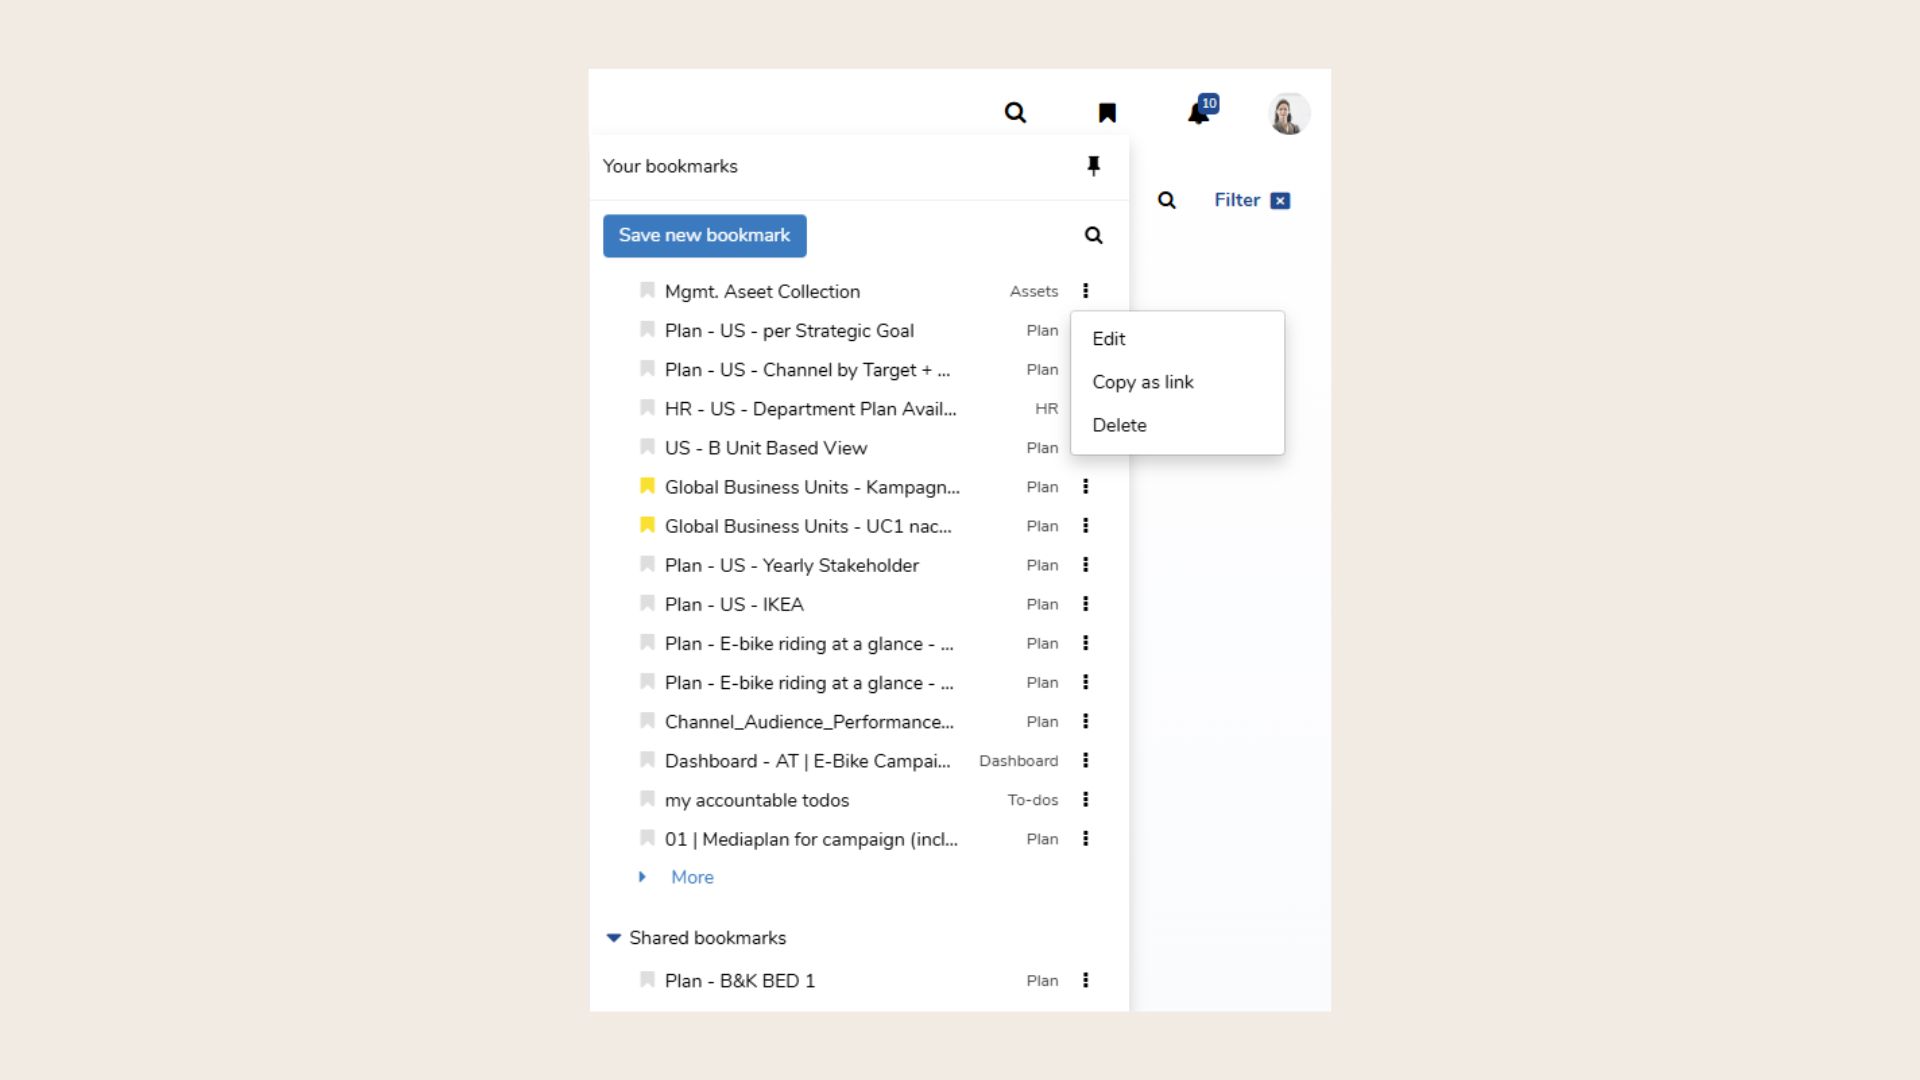
In order to access your bookmarks, click on the bookmark symbol in the top right corner of Marmind. By clicking on the 3-dot menu of an existing bookmark, they can be edited or copied as a link:
Bookmarks can be personal or shared with team members:
-
Personal Bookmarks – Only visible to the user who created them.
-
Shared Bookmarks – Can be made available to the entire team or selected colleagues.
-
Global Bookmarks – Created at the root level and shared across multiple objects.