📄 Summary: What You’ll Learn in This Article
This article explains how to view, manage, and collaborate on assets in Marmind. You'll learn how to navigate the asset overview, compare image versions, add annotations, mention users, and reserve assets to control version uploads.
-
Top Bar
-
Version Comparison and Slider
-
Asset Details
-
Asset Annotations and Collaboration
-
Reserving Assets
-
Sharing Assets
-
Asset metadata
🧑🤝🧑 Who Should Read This?
This article is most useful for:
-
Marketing teams managing campaign assets
-
Project managers tracking visual content
-
Designers and content editors working with image versions and annotations
-
Any user collaborating on asset feedback and approvals in Marmind
✔️ Prerequisites: What Should You Know Before Getting Started?
Level: Beginner
Access required: Permission to see, upload and edit assets
-
Basic navigation and asset module knowledge is required.
The Asset Module in Marmind
To view all assets within an object, go to the desired object area and click on "Assets" in the navigation bar. You can choose between compact (tile), list, or grid view. Use "hide sublevels" to show only assets in the selected object, or "show sublevels" to include all its subordinate objects.
Click on an asset to select it. Once selected, you can download, copy, move, or delete it using the drop-down menu.
Check out this article to find out more about the assets module.
Note: Asset approvals are carried out via the corresponding workflow. System administrators can edit the asset approval workflow in the admin area.
Adding an Asset
Check out this article to see a step-by-step of how to add assets in Marmind.
Working with Assets
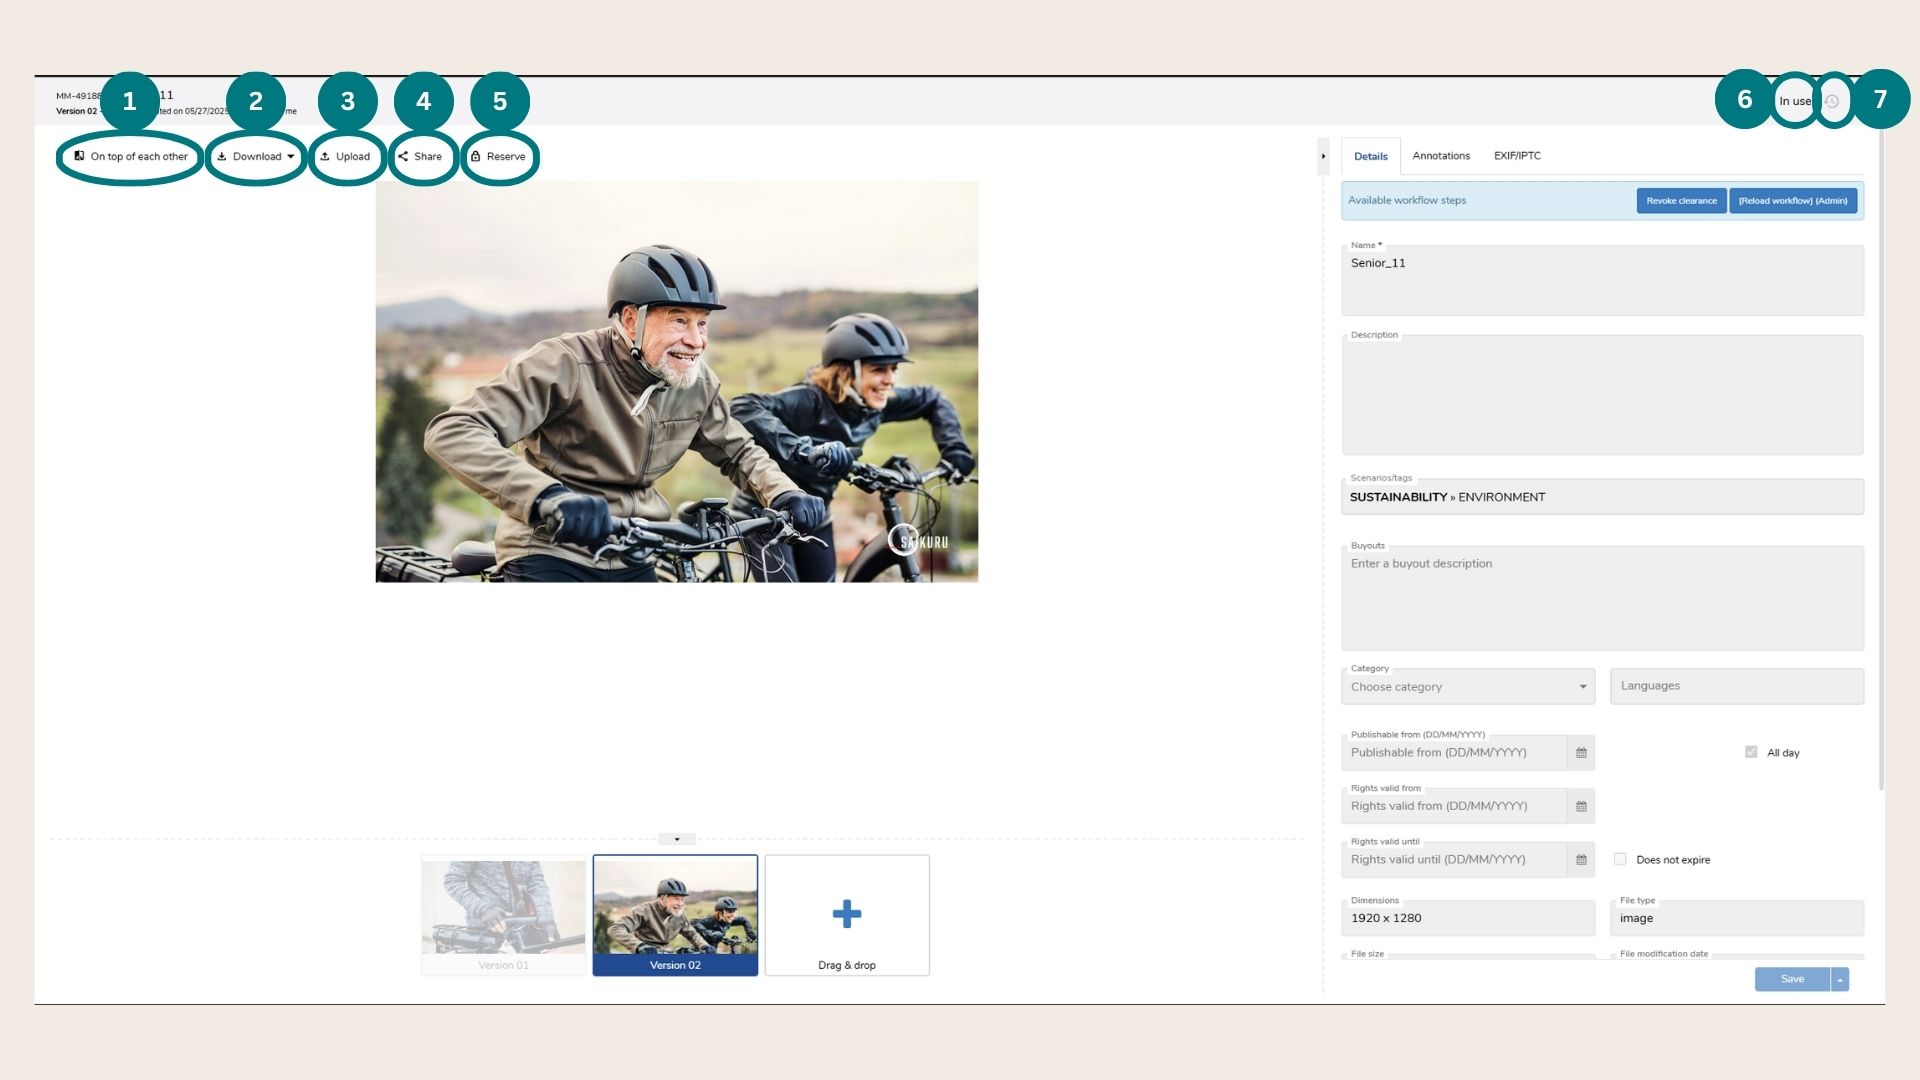
Top Bar
When you click on an asset, there are numerous options available directly above the asset:
-
On top of each other: compare different versions by sliding left and right
-
Download: download the asset to your device
-
Upload: add a new version of the asset (also possible at the bottom “drag & drop”)
-
Share: send an email or Marmind notification to a colleague (has to be a Marmind user)
-
Reserve: prevents other users from uploading a new version of an asset until the reservation is removed. Only the person who reserved the asset can upload a new version. Once they do, the reservation is automatically removed. The asset view shows who currently has the asset reserved.
-
Asset Status (here: In Use): This indicates the status of the asset based on the workflow step it currently is in (visible in the blue panel below)
-
History: Here, you can see the asset history and look for any changes that have been made previously.
Hint: Use the grey arrow on the bottom and on the right to expand or close the detail view of the asset.
Versioning
In Marmind, you can upload multiple versions of an asset.
Upload a new asset by either clicking "Upload" in the top bar or clicking on the "+" below the asset.
To compare two different versions, click on "On top of each other" in the top bar and slide the yellow bar horizontally between the versions.
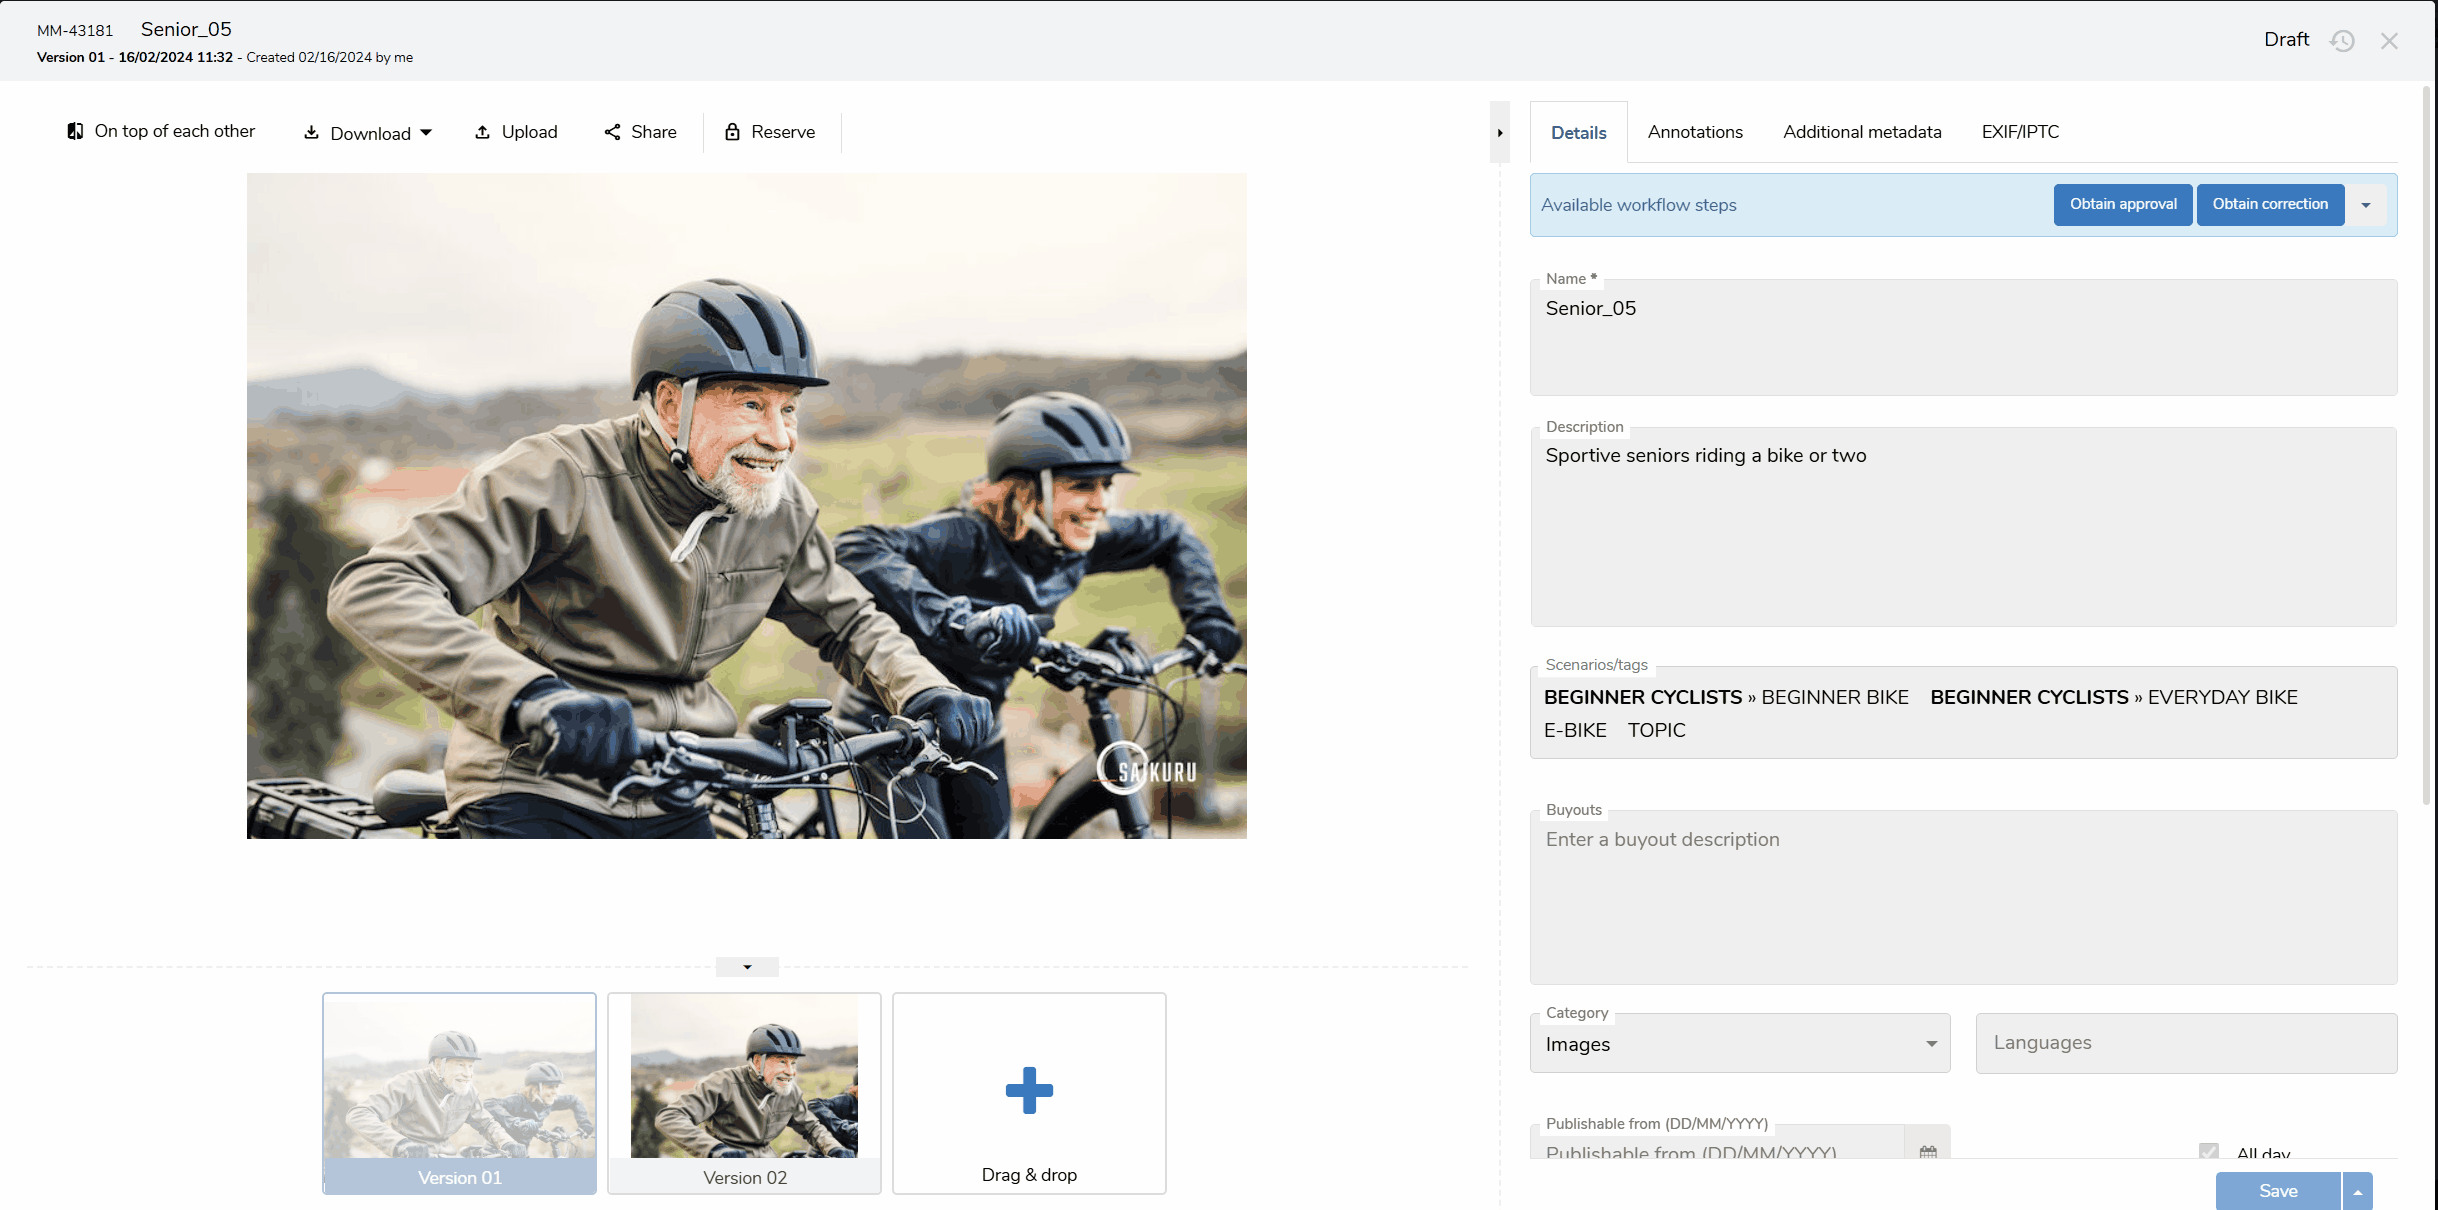
When you open an asset, its details are displayed.
In the version thumbnails, select which version to show on the left (marked with a green L) and which on the right (green R):
To exit the comparison view, click the slider icon again. To save your new version, click "Save & Close" at the bottom.
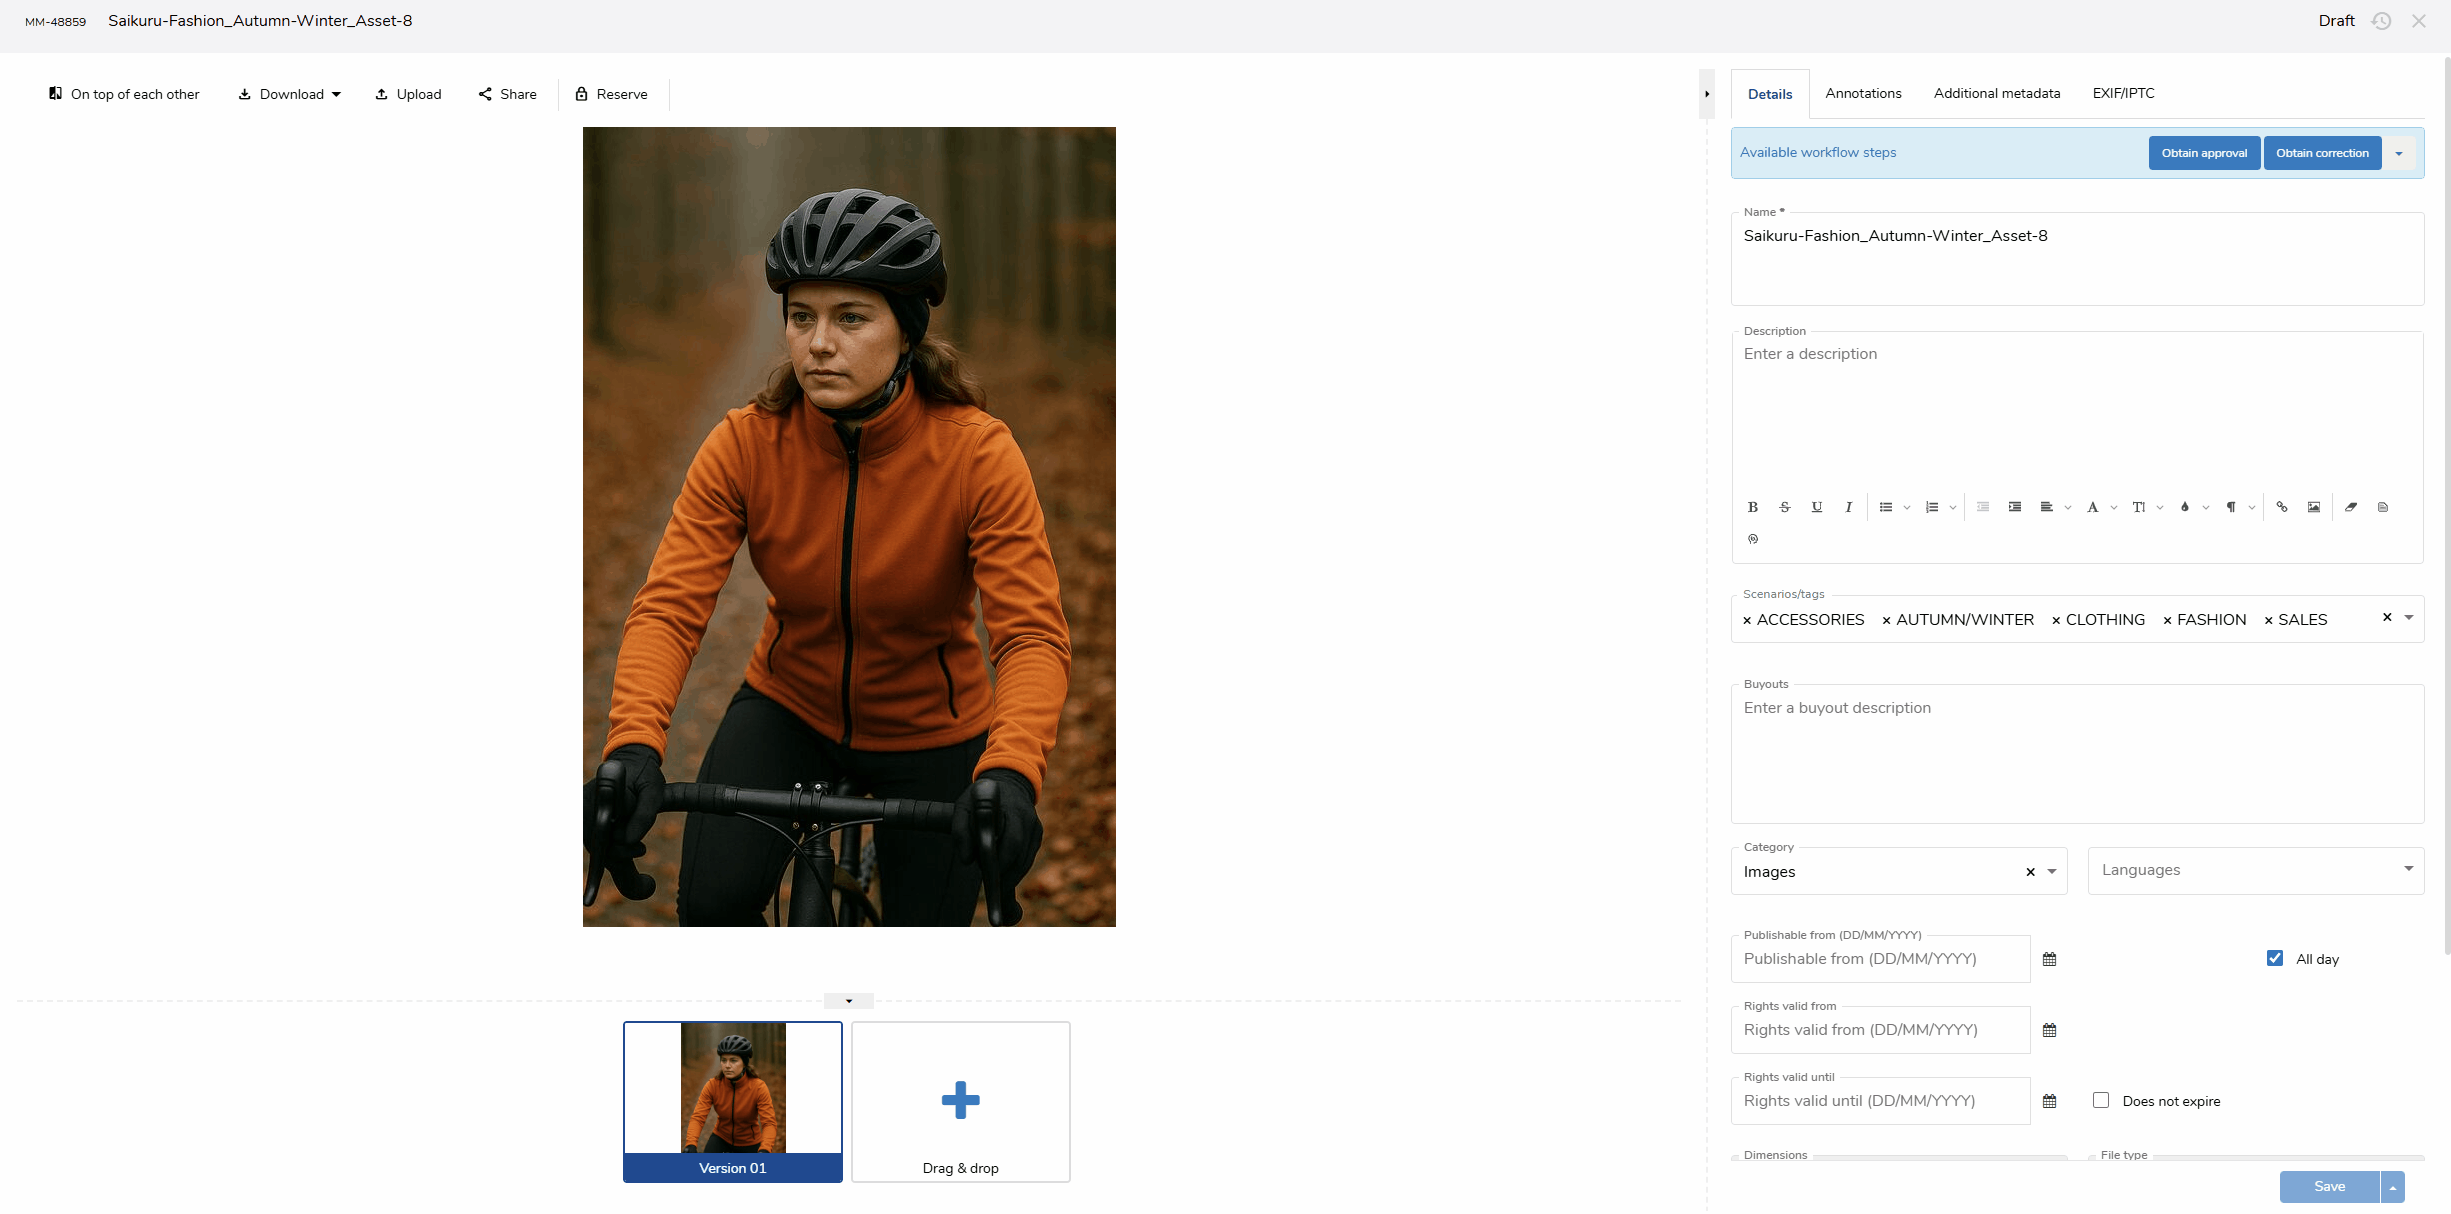
Basic Details
In the "Details" tab on the right, you can update the asset name, add a short description, and apply relevant tags to make the asset easier to find. If the asset has specific licensing or usage rights, enter the buyout details and valid dates. Make sure the category (e.g. "Images") and assigned campaign (e.g. "Autumn/Winter") are correct. Don’t forget to save your changes.
Also, you can find available workflow steps at the top (in case a workflow has been defined).

Note: You might have additional tabs in this asset view that have been customized for your company’s needs.
Sharing Assets
There are 2 different ways to share an asset with someone:
-
Share with someone with Marmind credentials
Click on "Share" in the top bar (sharing with Marmind user only, who have access to the asset hierarchy).
-
Share with someone without Marmind credentials:
Go to the "Details" tab. Scroll down to the "Share this asset" section and click on it. Here, you can add a custom description and define a validity period for the share link. Once you're done, click "Save share". By doing this, a link is generated which can be send to external user so he can download the file locally (no additional information is provide via the link sharing option).
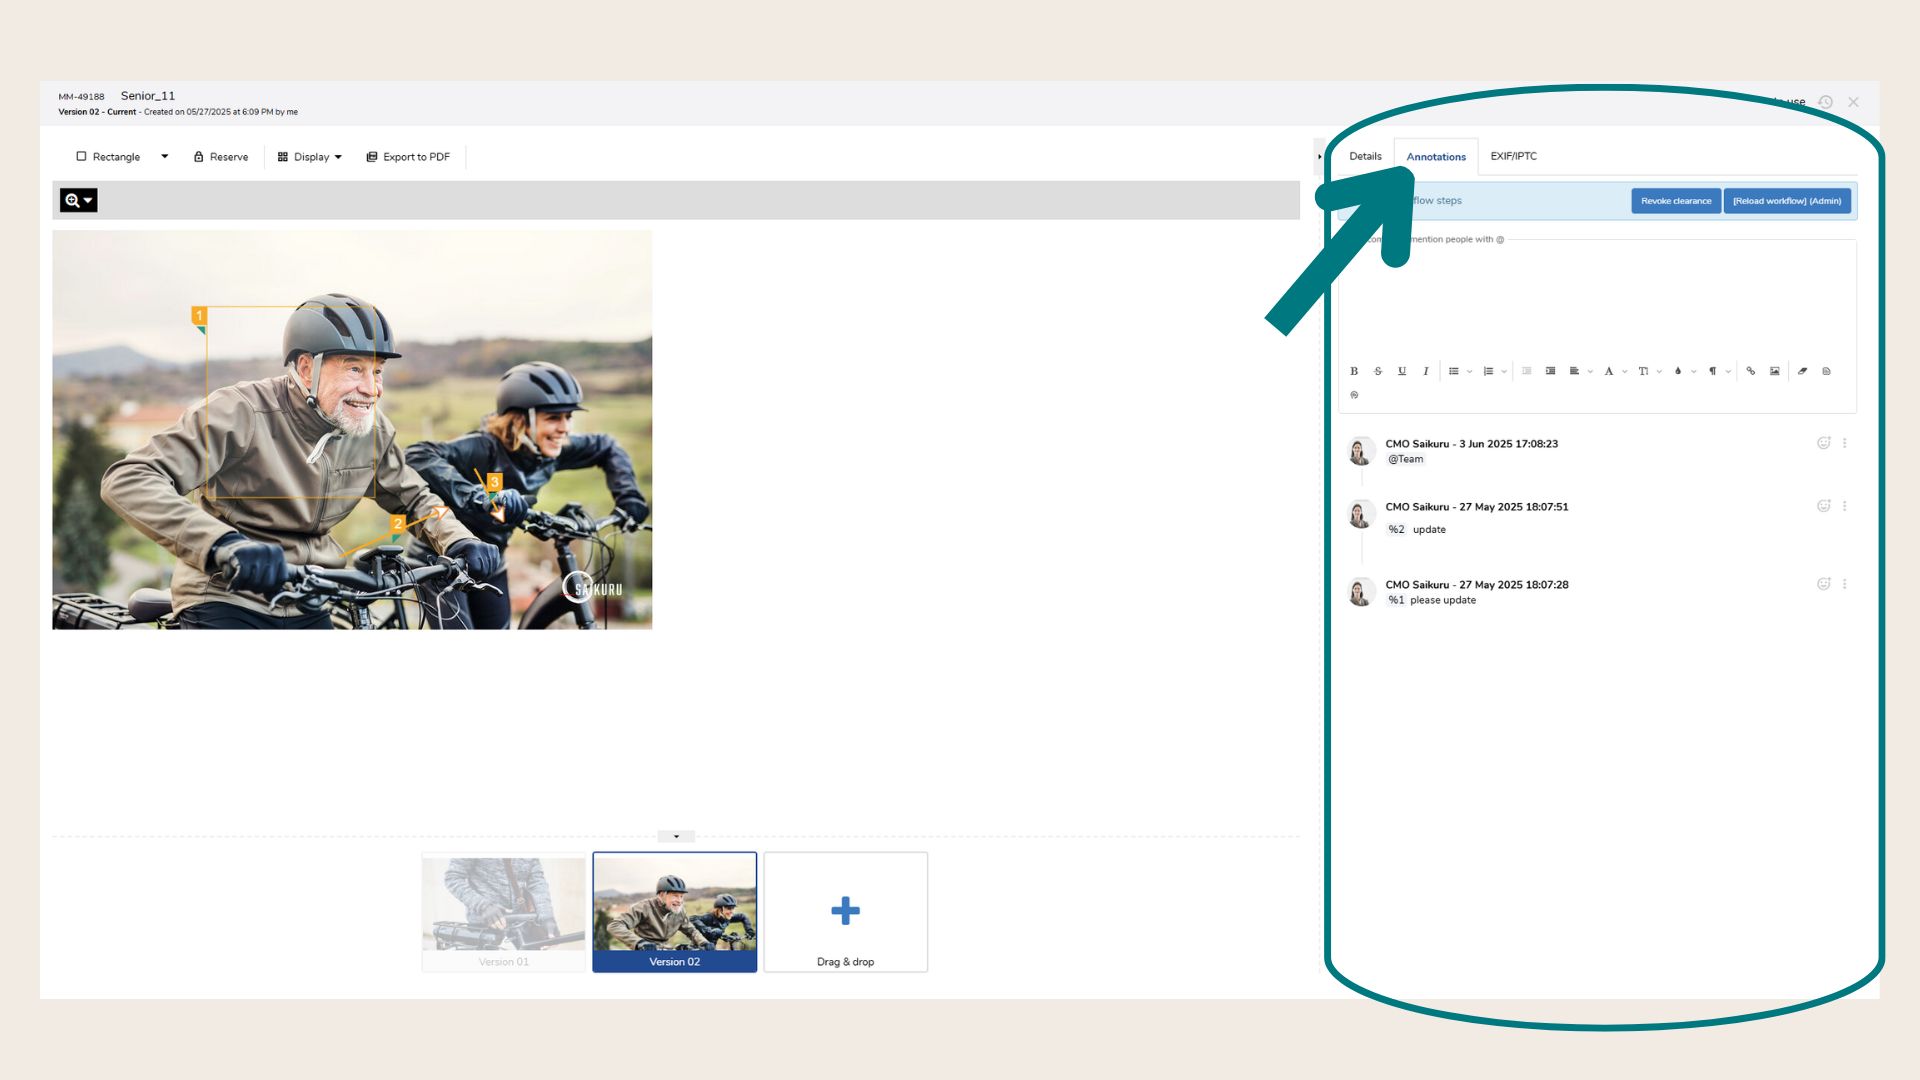
Annotations
In the annotations tab, you can add visual annotations to your asset (rectangles, circles, etc.).
-
Commenting and Collaboration
On the right side, you’ll find the comment thread related to each annotation.
Available actions include:-
Add a general comment
-
Use @mentions to notify specific users
-
Reply to or comment directly on an annotation
-
-
Mentioning Users and Notifications
After uploading an image or adding an annotation, you can immediately mention a user with@username.
The mentioned user receives a notification in Marmind and can click it to open the asset and respond. -
Review and Approval Process
If changes were requested:-
The responsible user updates the asset or annotation.
-
The reviewer accepts the change by clicking the thumbs up icon.
-
The annotation is then highlighted in green to indicate approval.
-
Select the form you want to use on the top left (rectangle, circle, etc.) and mark a specific are in the asset (you can do this in all versions) and @mention colleagues using the comment section. This is the best way to align with your colleagues regarding adaptions.
Click on each annotation and mark them as completed or add new ones (once you upload a new version, completed annotations are hidden by default)
You can also export the Asset with Annotations as a PDF (this function is only supported for jpegs and videos).
Best Practice: working through annotations:
-
Use clear and consistent naming.
-
Keep track of publishing and licensing dates.
-
Ensure full CI/CD compliance before using assets publicly.
-
Regularly update views/clicks if tracked manually.
-
You can also refer to an annotation by typing "%" and add the annotation number
-
Click Display in the tool bar to adapt the annotation view in the asset.
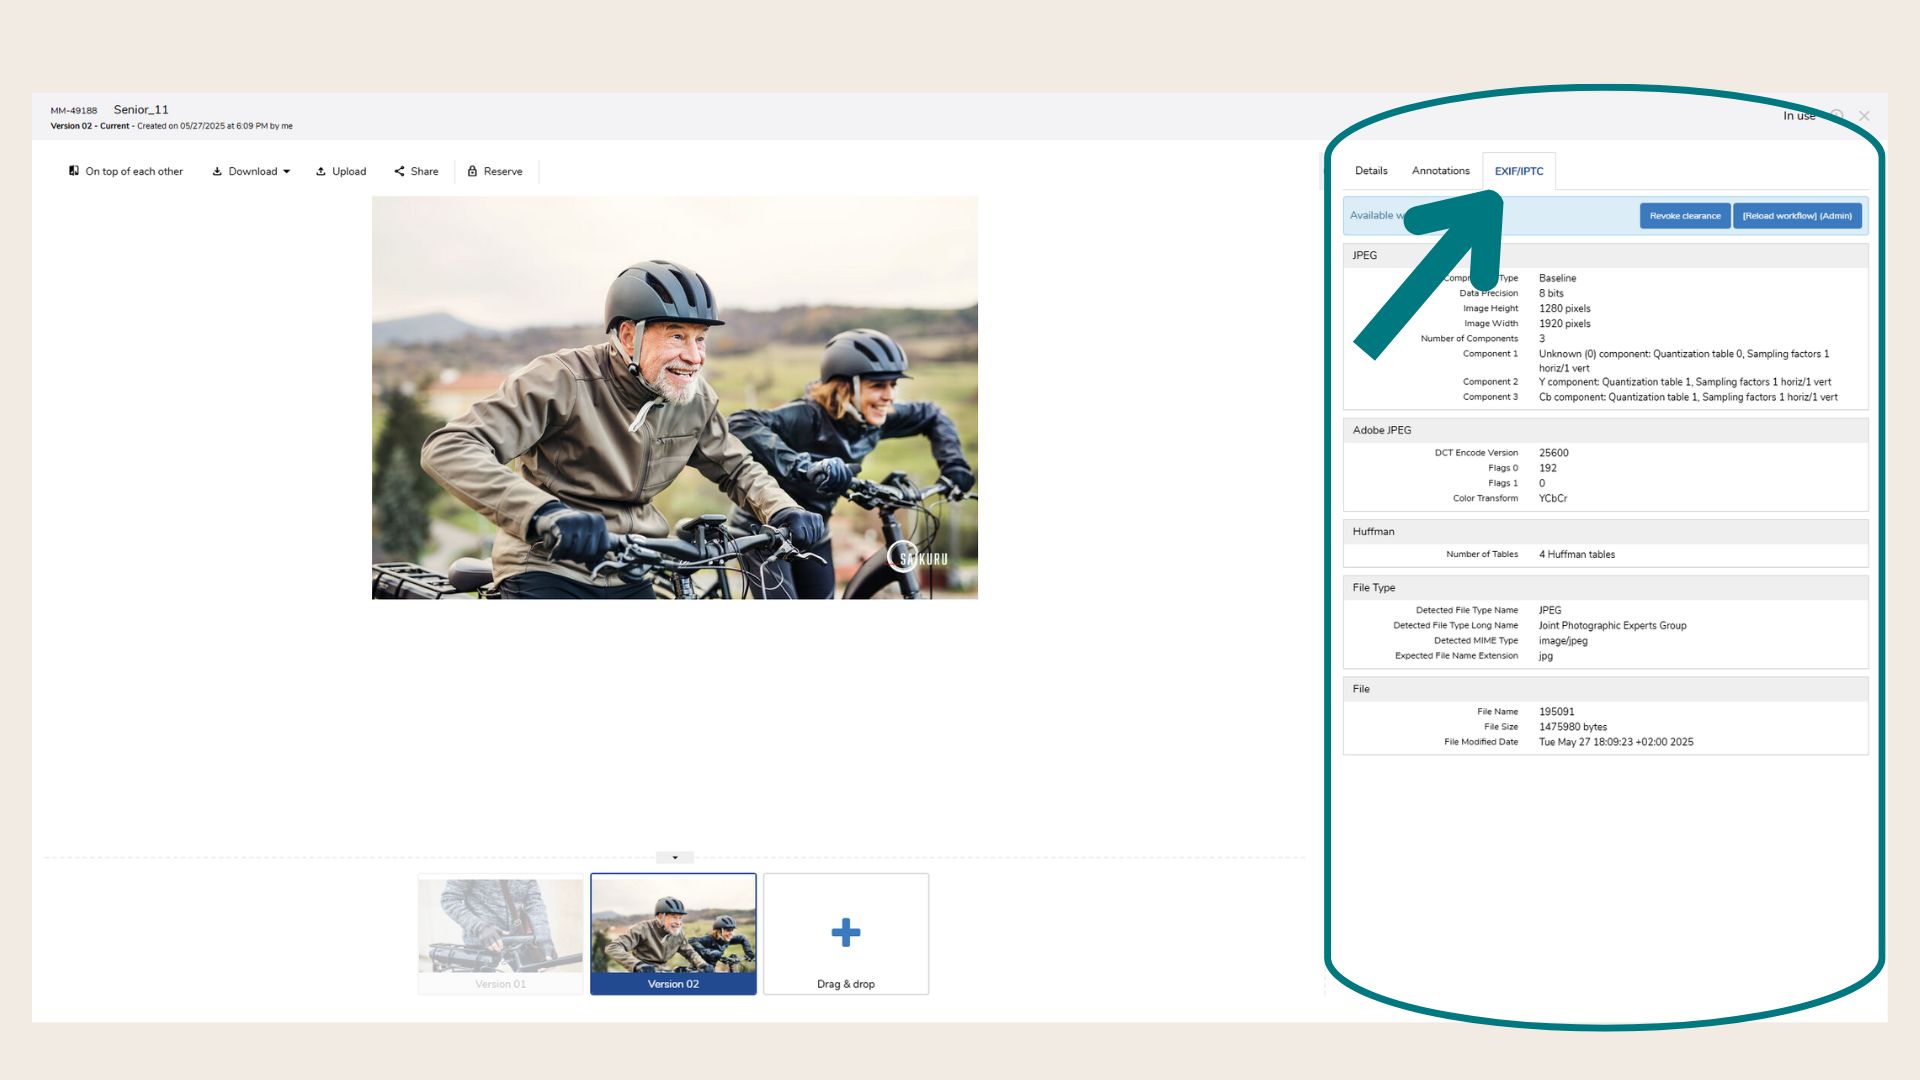
EXIF/IPTC
Here, metadata of the asset is automatically detected and listed for supported file types.
❓ FAQs