📄 Summary: What You’ll Learn in This Article
This article explains how to add, manage, and organize digital assets directly within Marmind. It walks you through the available options for incorporating assets—including file additions, external references, and placeholders—and shows how to edit asset details and prevent duplicates to keep your campaigns and product areas structured and efficient.
-
Step-by-step tutorial on how to add assets
🧑🤝🧑 Who Should Read This?
This article is for marketing managers, campaign planners, project leads, and content owners who manage creative or brand assets within Marmind.
✔️ Prerequisites: What Should You Know Before Getting Started?
Level: Beginner/Intermediate
Access required: You need access to Marmind’s Asset Module in your campaign or product area.
To follow this article effectively, you should have:
-
Basic familiarity with Marmind – especially how to navigate campaigns or products.
-
Access to the Asset Module – only users with the right permissions will see and use the asset upload features.
-
General file management skills – such as uploading, naming, and organizing files.
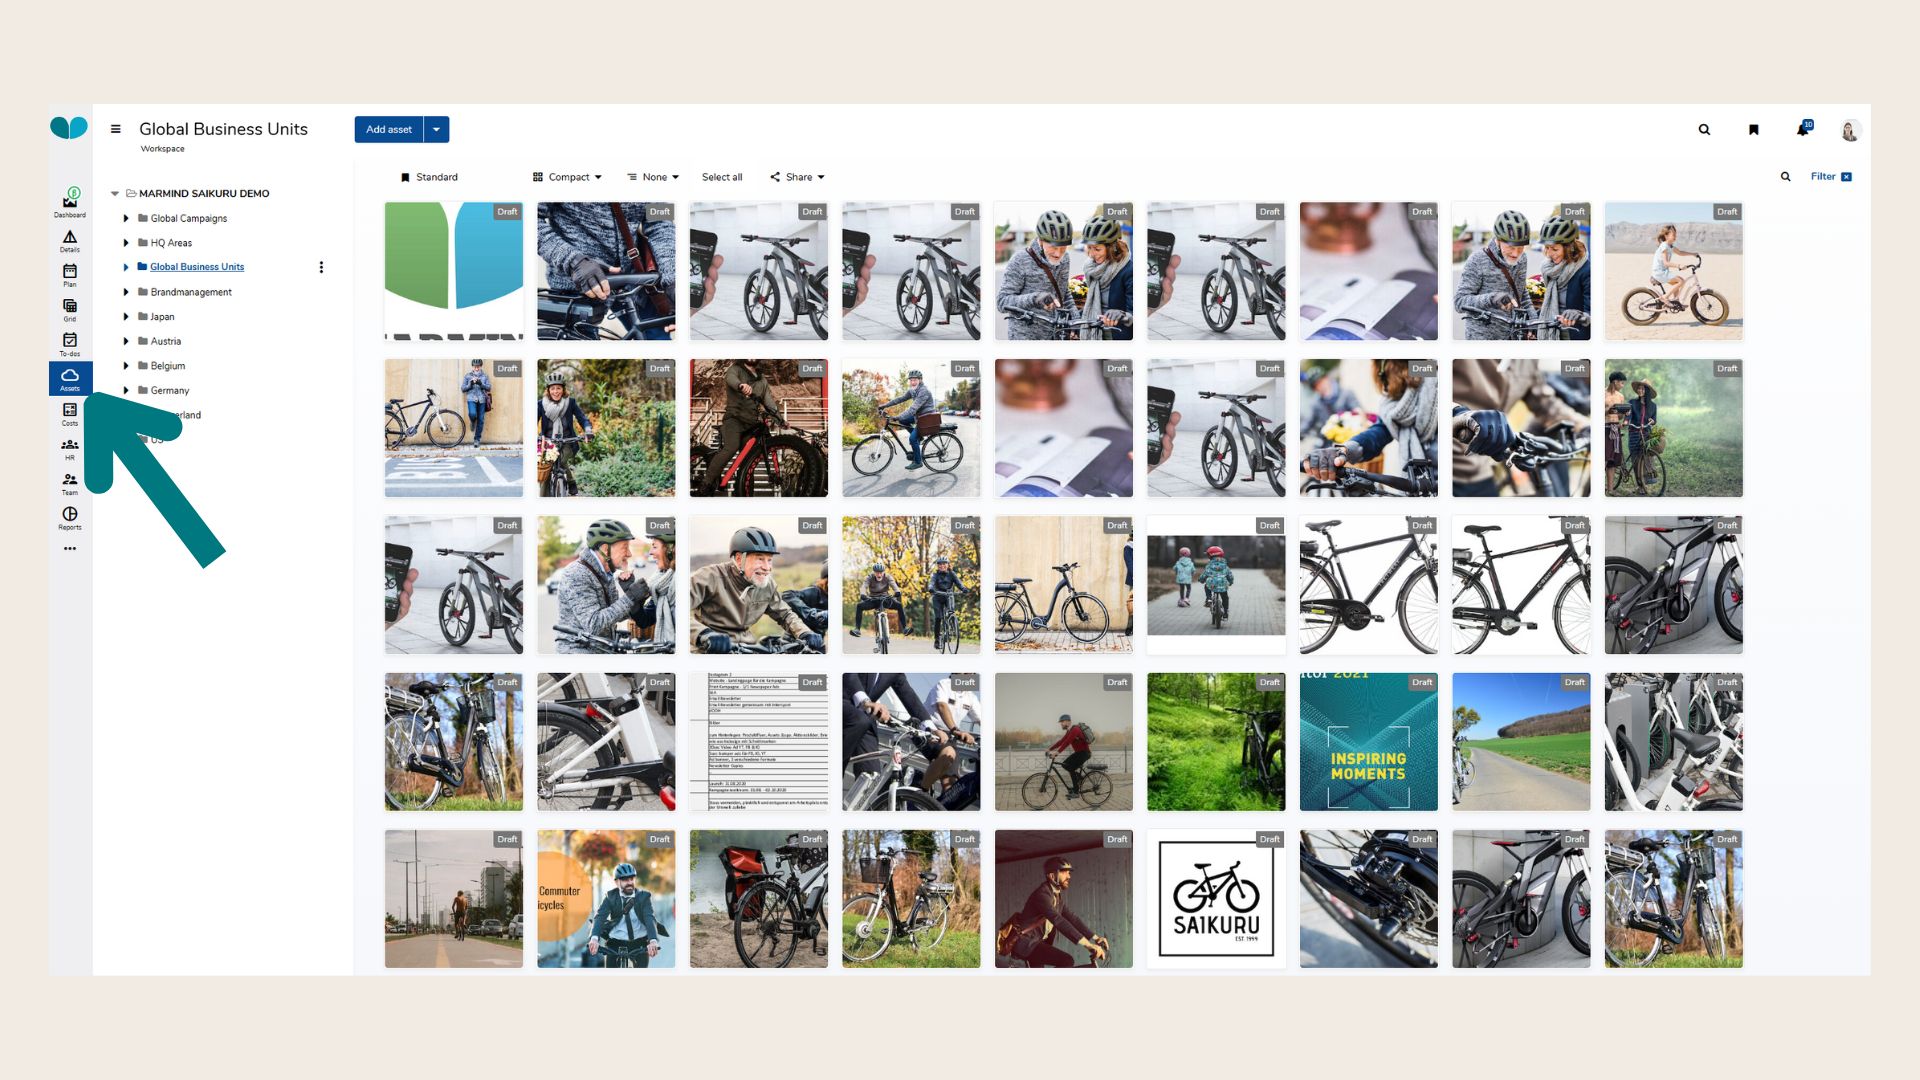
Step 1: Open the Asset Module
-
Navigate to the Campaign or Product where you want to manage assets.
-
Click on the Asset Module in the left-hand sidebar.
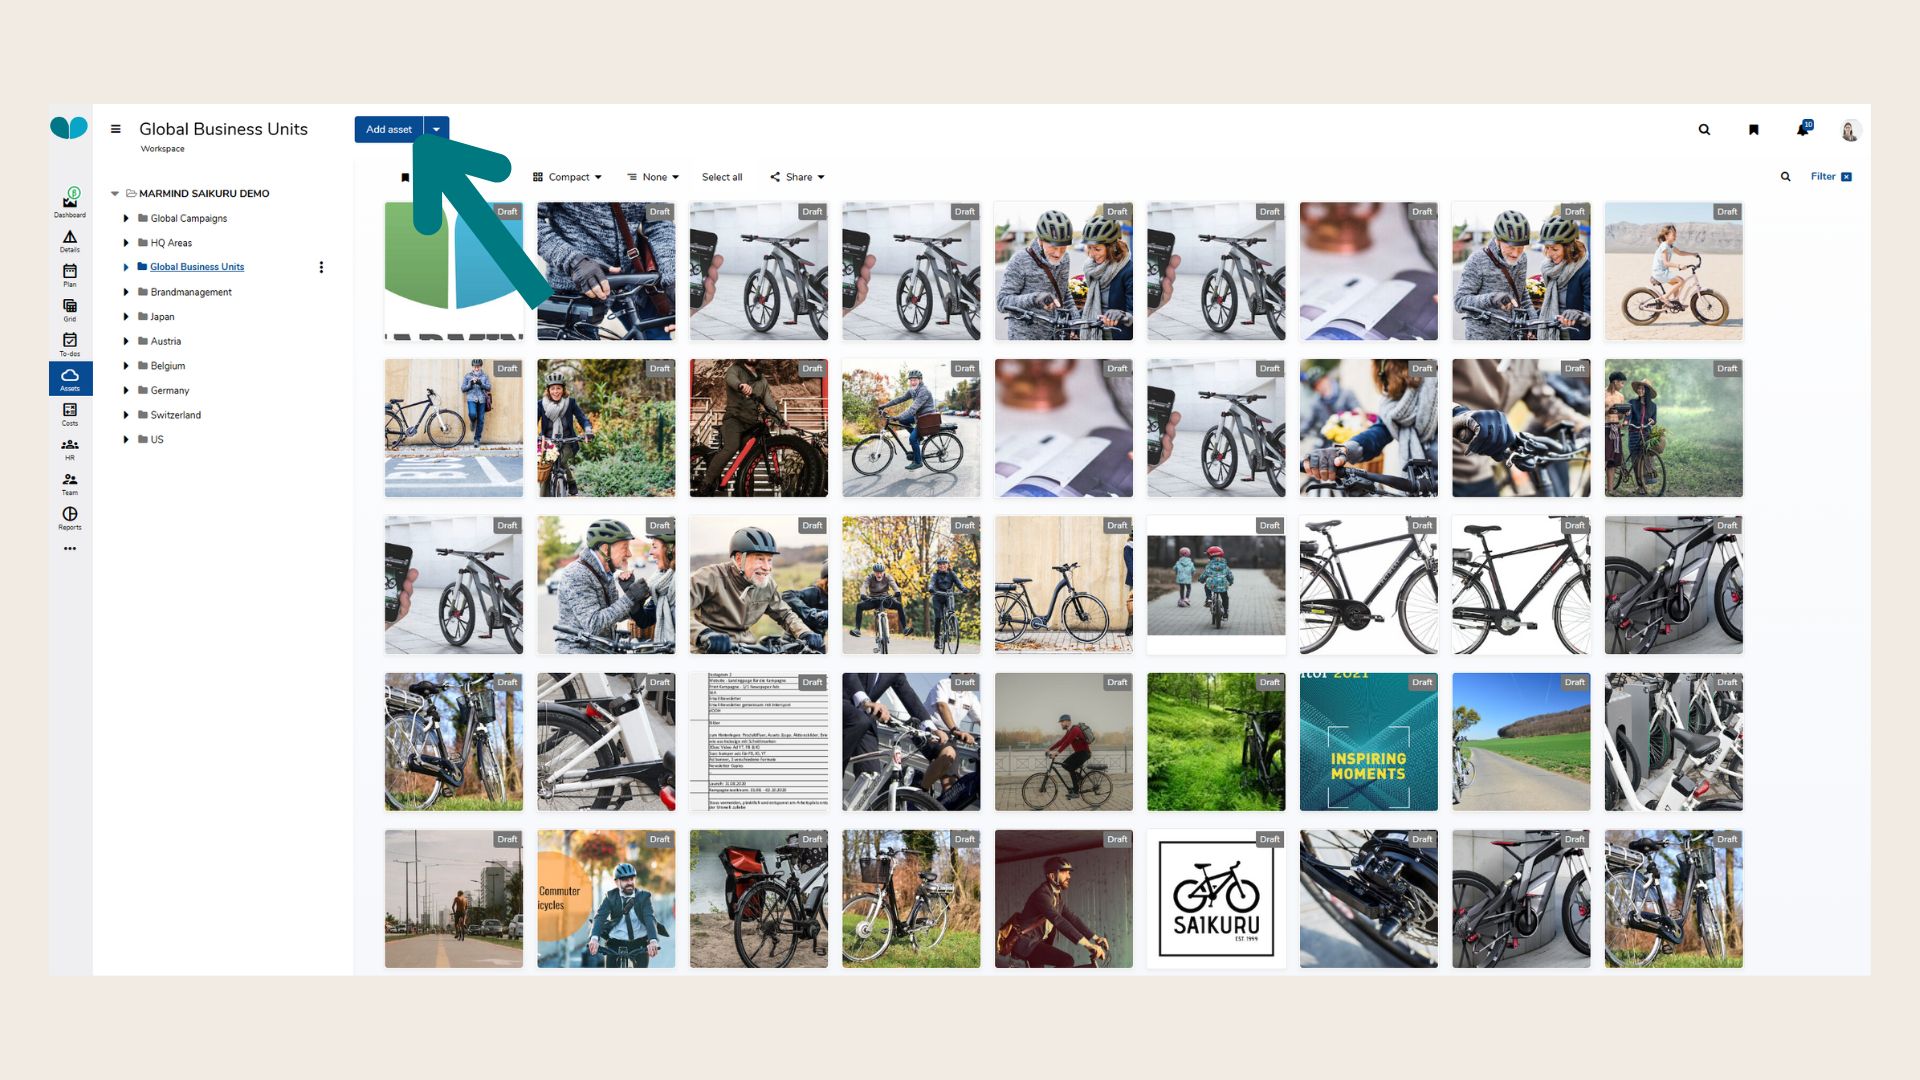
Step 2: Add a New Asset
-
Click the blue “Add asset” button at the top of the page.
-
A pop-up window will appear with several options:
Options to add an asset:
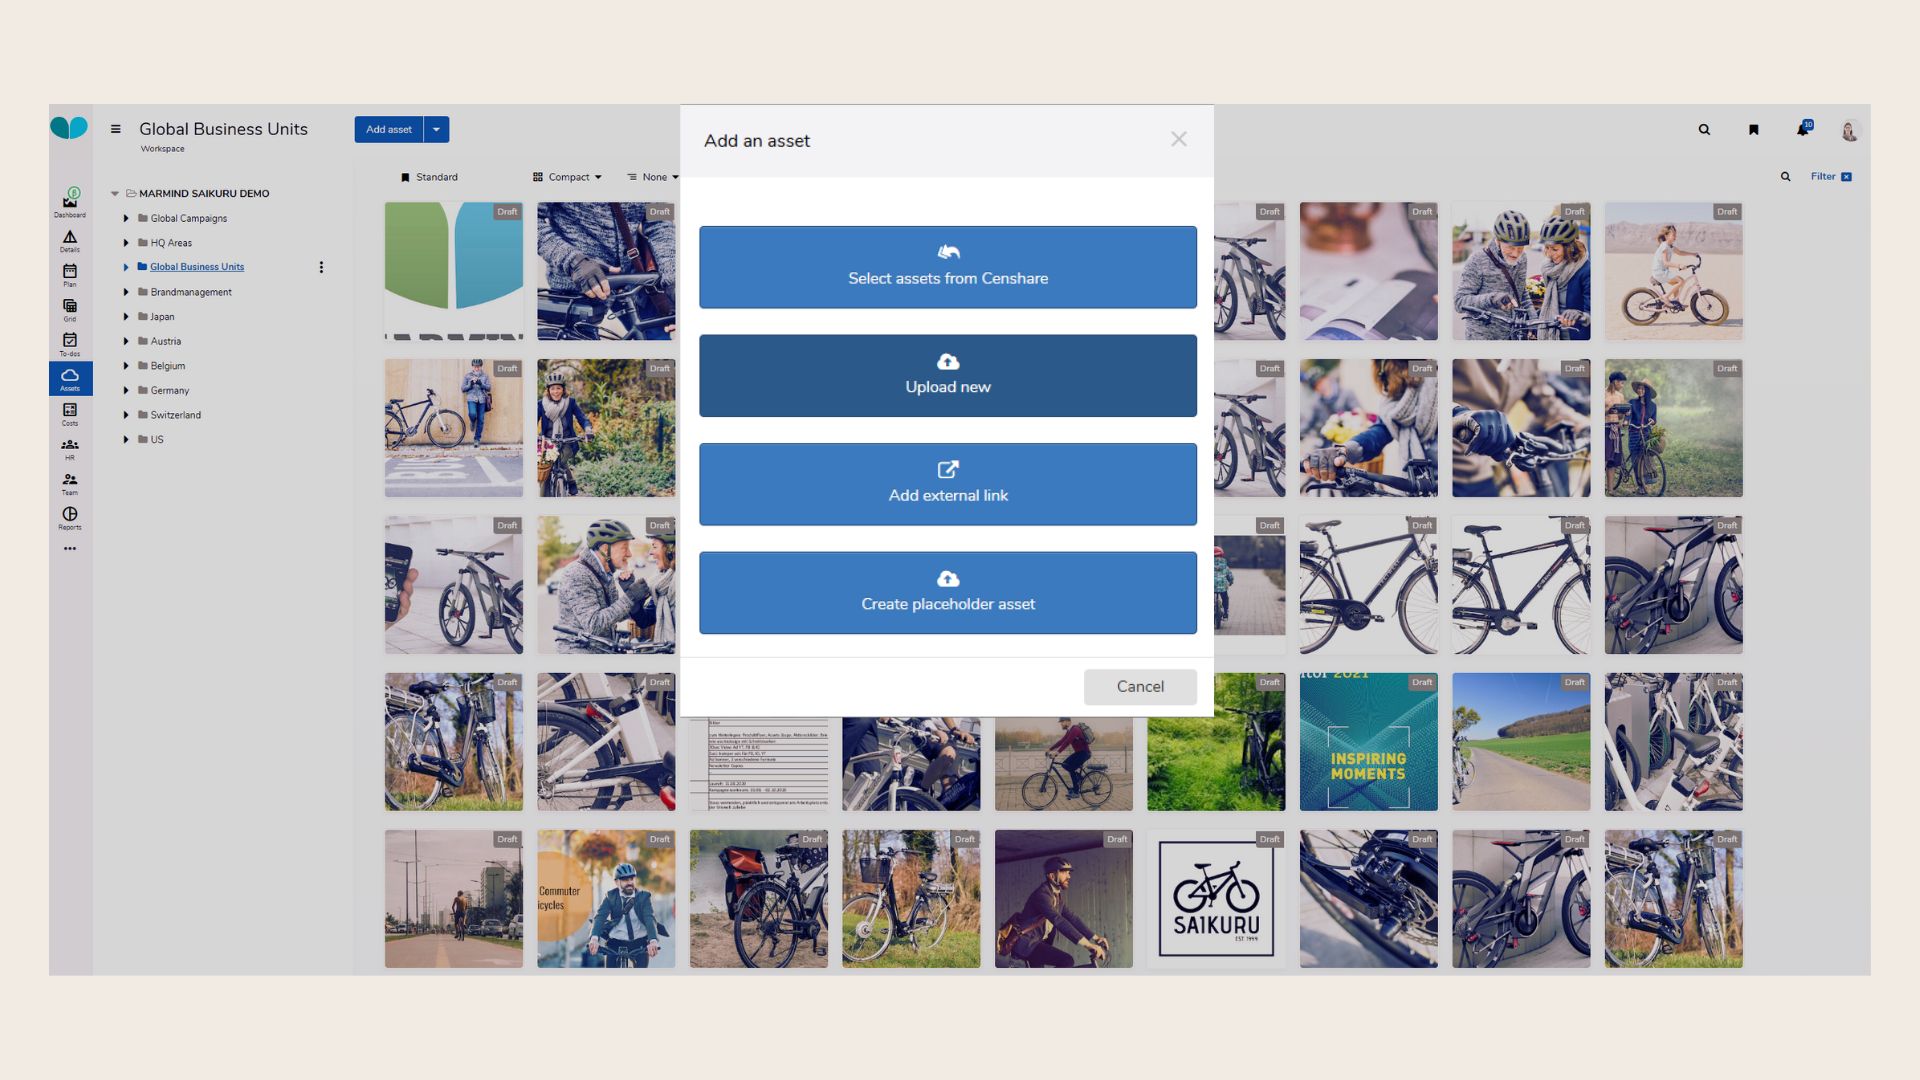
-
Select Assets from Censhare: This choice is only available in case your company has enabled the Censhare Connector. Learn more about this connector here: Marmind - Censhare Integration Overview
-
Upload new: Upload a file from your computer via drag and drop or file picker.
-
Add external link: Add a URL pointing to an asset stored online (e.g., Google Drive, Dropbox, image URLs).
-
Create placeholder asset: Create an asset entry without uploading a file (useful for planning or reserving space in workflows).
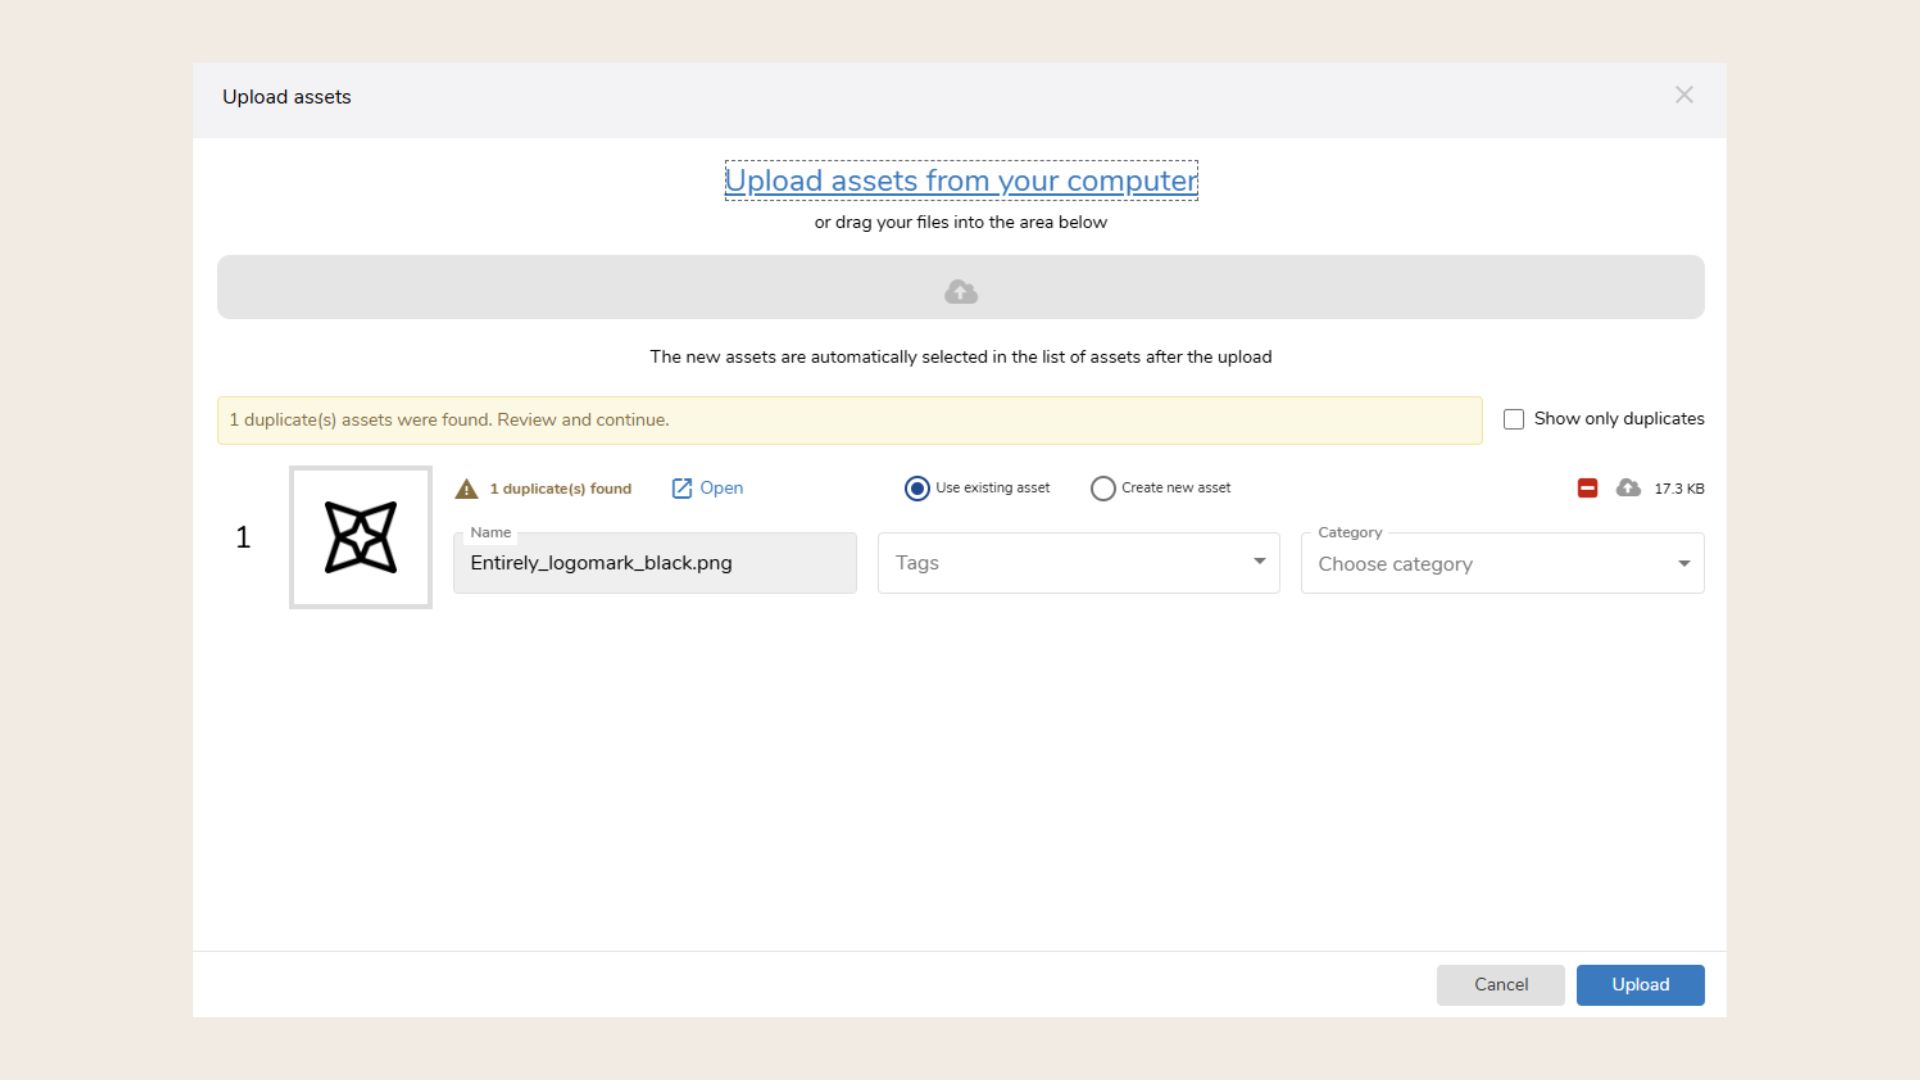
Step 3: Avoid Duplicate Uploads - only available with the Censhare integrator
The automated duplicate check is only available for customers who are working with Censhare and have enabled the Marmind and Censhare integrator.
-
Marmind automatically checks for duplicates using a file hashcode.
-
If a duplicate is found, you’ll be prompted to reuse the existing asset or proceed with the upload anyway. If more than one duplicate is found and the user wants to reuse an existing duplicate, they must review the assets and select which one from the duplicates to use.
Step 4: Edit Asset Properties
After uploading:
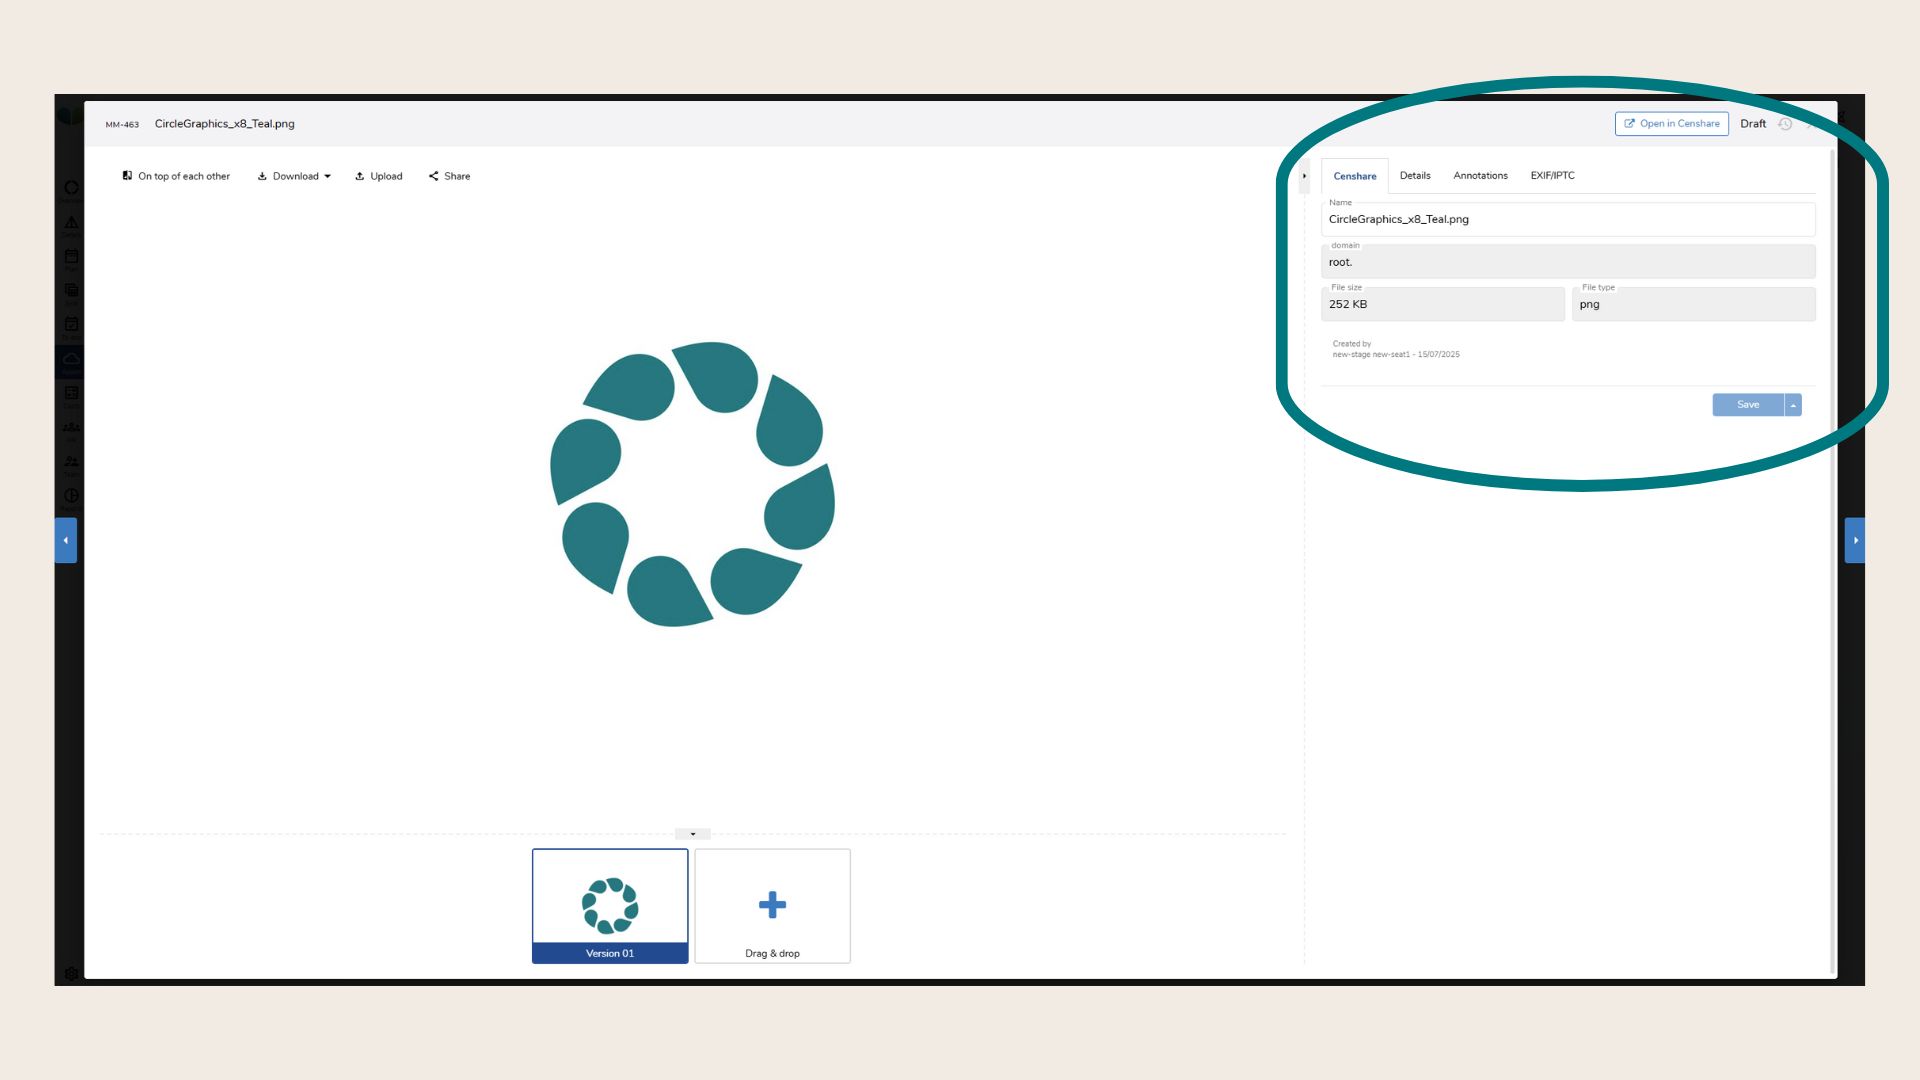
-
Click on the asset to open the preview window.
-
You can edit:
-
Asset name
-
Description
-
Tags
-
Categories
-
Linked campaigns or products
-
Best Practice
-
Use tags and categories to improve asset findability.
-
Name assets clearly with version numbers or usage context (e.g., “Summer23_Campaign_Banner_v2”).
-
Review and update unused or outdated assets regularly.
❓ FAQs