📄 Summary: What You’ll Learn in This Article
This article walks you through the key features for working efficiently within the Grid Module in Marmind. Learn how to edit multiple rows at once, group and filter data, create or delete objects, search, refresh, and export your grid view to Excel.
-
Edit Grid
-
Create and Delete
-
Search and Refresh
-
Excel Export
🧑🤝🧑 Who Should Read This?
This article is most useful for:
-
Marketing operations teams managing multiple campaigns and actions
-
Power users who maintain large sets of data in Marmind
-
Project leads and planners using the Grid as their daily control center
✔️ Prerequisites: What Should You Know Before Getting Started?
Level: Intermediate
Access required: Grid Module must be activated, plus edit permissions for relevant objects
-
Some familiarity with the Grid layout and object structure is helpful before diving into advanced functionality.
Bulk Editing & Deleting
Need to make the same change across multiple items? Bulk editing allows you to update the same attribute across several selected objects at once.
Steps to bulk edit:
-
Select multiple rows using
CTRL + click(orCTRL + SHIFT + clickfor ranges). -
Open the column menu for the attribute you wish to edit.
-
Choose the appropriate bulk action (e.g., change status or assign a new responsible person).
Supported attributes for bulk editing:
-
Responsible person
-
Status
-
Valid from / Valid to
-
Tags
-
Object color
Steps to bulk deleting:
-
Select multiple rows using
CTRL + click(orCTRL + SHIFT + clickfor ranges) -
Bulk deleting is done directly in the grid via the name column menu, where the options Copy, Move, and Delete are available.
-
Depending on the column you are in, the corresponding object type will be deleted:
-
In the campaign column → the entire campaign (including all subordinate elements)
-
In the project column → only the project (including all subordinate elements)
-
In the action column → only the action
When deleting, child elements are also implicitly removed and a confirmation dialog appears that clearly indicates and shows all contained sub-objects that will also be removed.
→ Example: If you delete a campaign, all related projects, actions, costs, etc. will also be deleted. -
-
Limitations:
-
There is no undo function (except for bookmarks).
-
There is no recycle bin – deleted data is permanently removed.
-
Grouping and Filtering
The Grid allows you to group data based on selected attributes and apply filters for easier navigation and analysis.
Grouping
To group:
-
Drag an attribute (column name) into the grouping bar at the top of the grid.
-
You can nest groups for hierarchical display (e.g., Status > Responsible).

Filtering
There are two types of filters:
-
Global filter – Found on the right side of the grid (applies to all columns).
-
Column-specific filters – Found in each column header.
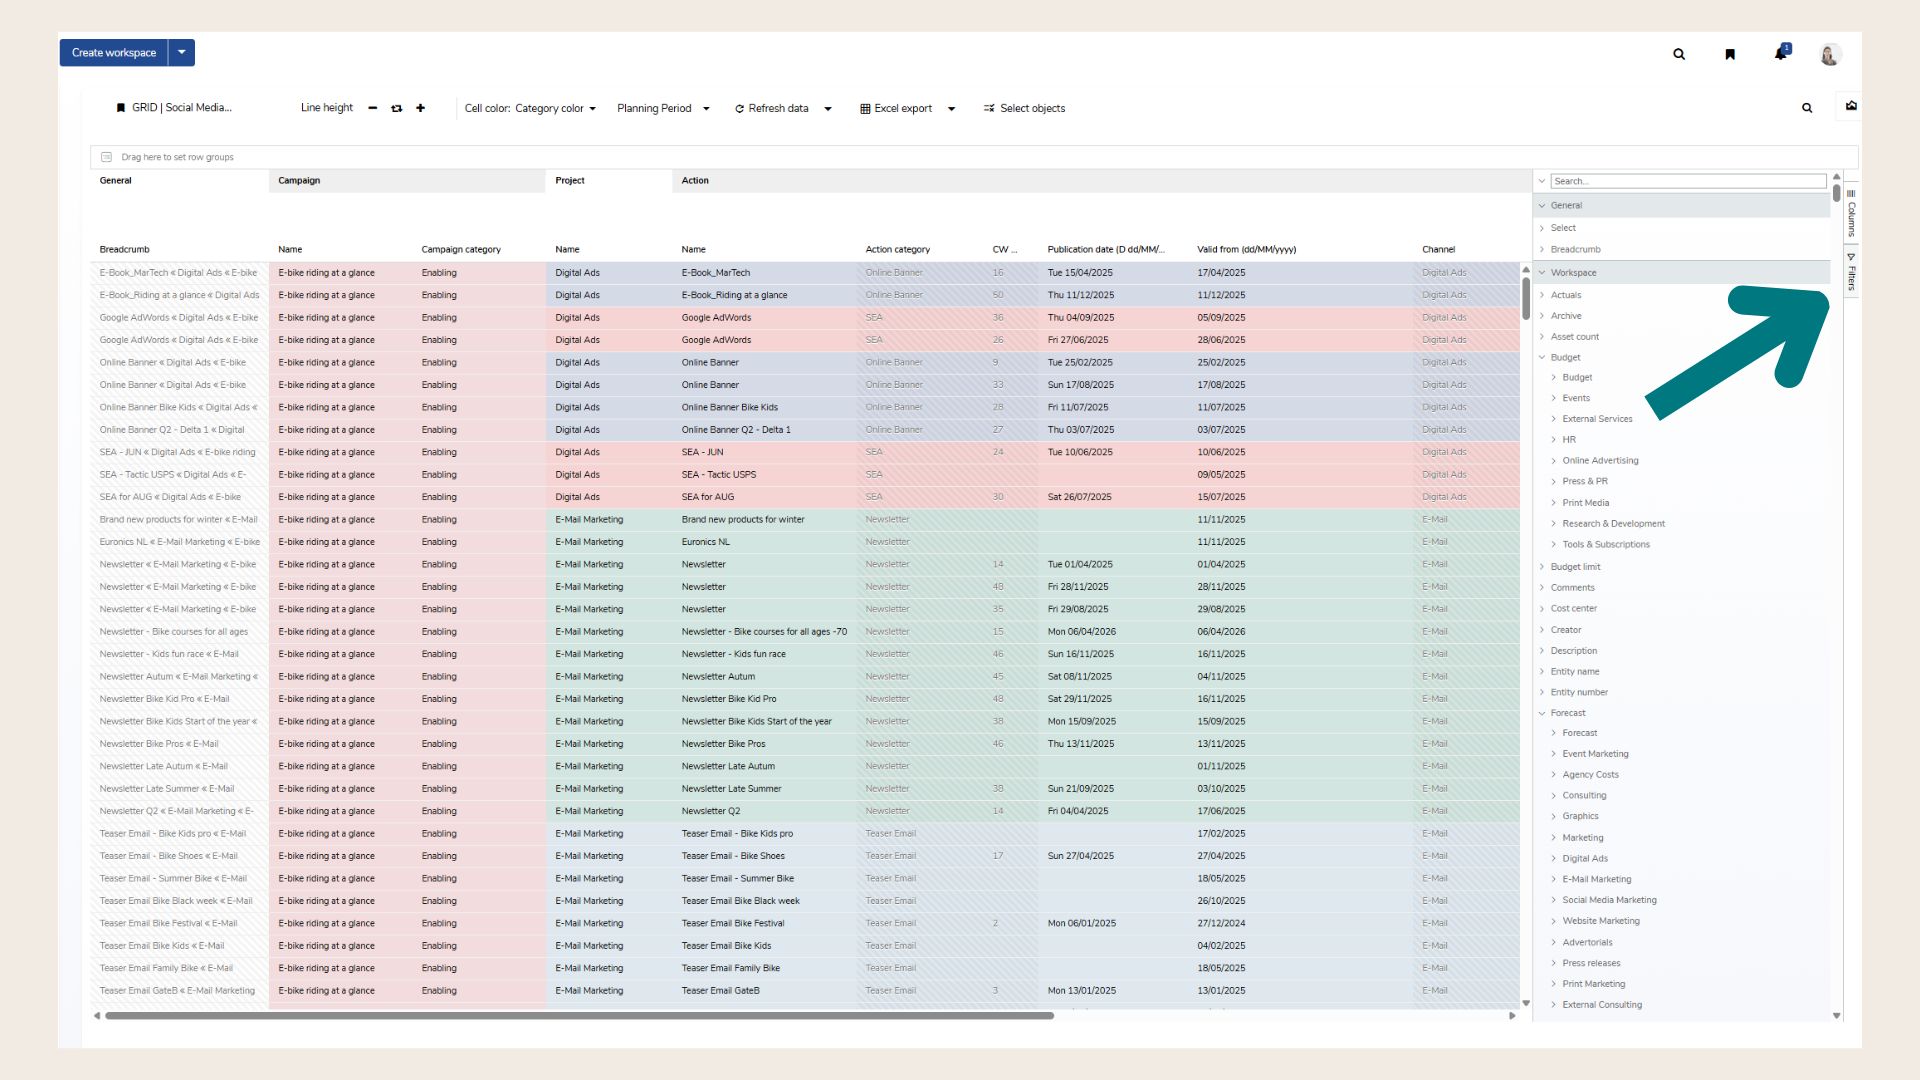
Use the Reset filter buttons (global or per attribute) to remove filters.
Alternatively, reset the view entirely by using “Discard changes” in the bookmark menu.
Create and Delete Objects
The Grid is not just for viewing—it also supports creating and deleting marketing objects such as:
-
Workspaces
-
Campaigns
-
Projects
-
Actions
-
Work packages
To create or delete:
-
Select the row where the new object will be added under (or deleted from).
-
Open the column menu of an editable attribute.
-
Choose Create or Delete.
📝 Example:
If you open the “Name” column menu in a Campaign row, you’ll see options to create a new Campaign, Project or Work Package under it or delete the Campaign.
If you open the “Responsible” column for a Workspace, you’ll have options to create a Action or a subordinate Workspace:
.gif?cb=7521a4f25e17cf8ff5d930ad901ef6cd)
Note: Create/Delete options only appear in menus of attributes that are editable for the selected object type.
After creating or deleting an object, the Grid updates automatically and displays changes according to the active sorting.
Search Within the Grid
Marmind offers two search options in the Grid:
-
Main Search: Searches across all attributes.
-
Attribute-Specific Search: Located on the right side or in column filters.
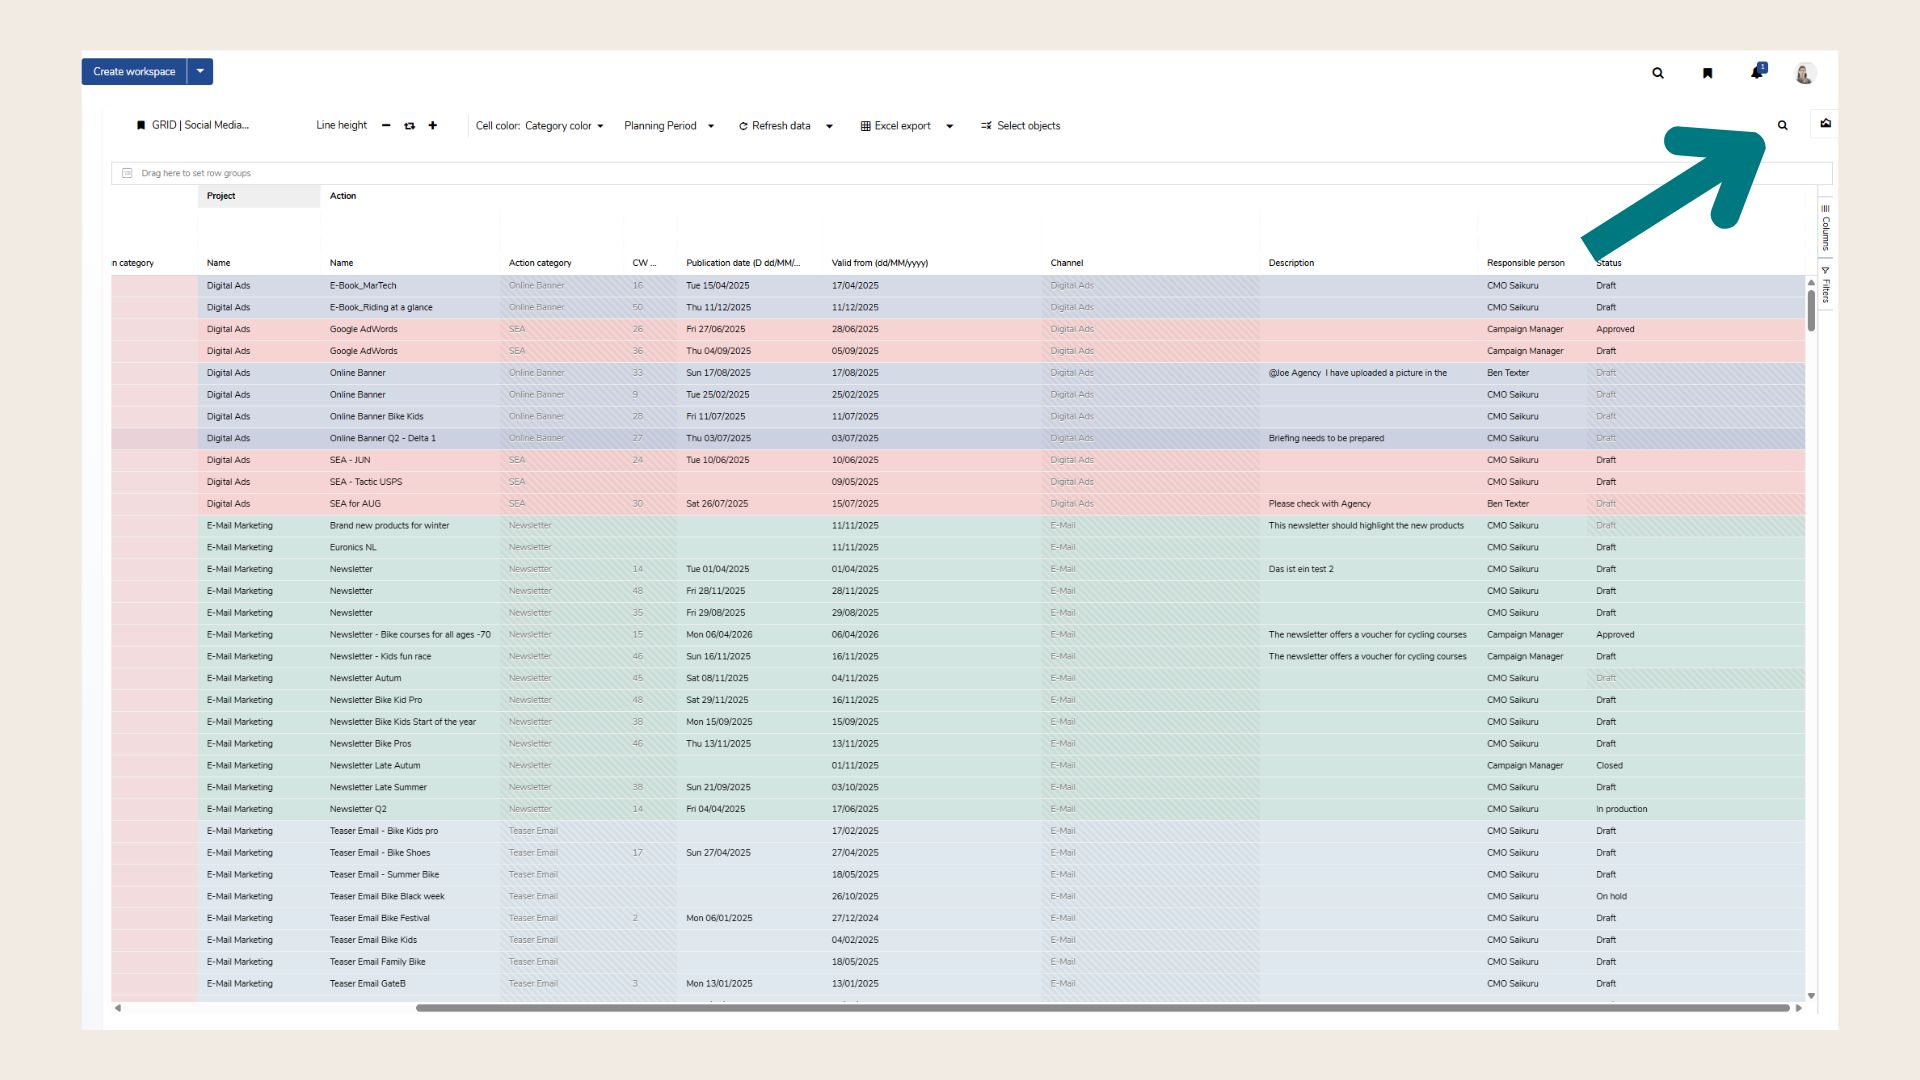
Use these to quickly find specific campaigns, tags, or other metadata in large datasets.
Refresh (Update) Grid Data
Located under the Next Steps Menu, the “Refresh Data” button refreshes grid content according to:
-
Selected objects
-
Current filters
Note: Only the Grid data refreshes—not the entire page.
Export Grid View to Excel
Need to continue your work outside of Marmind? Export your current Grid view as an Excel (.xlsx) file.
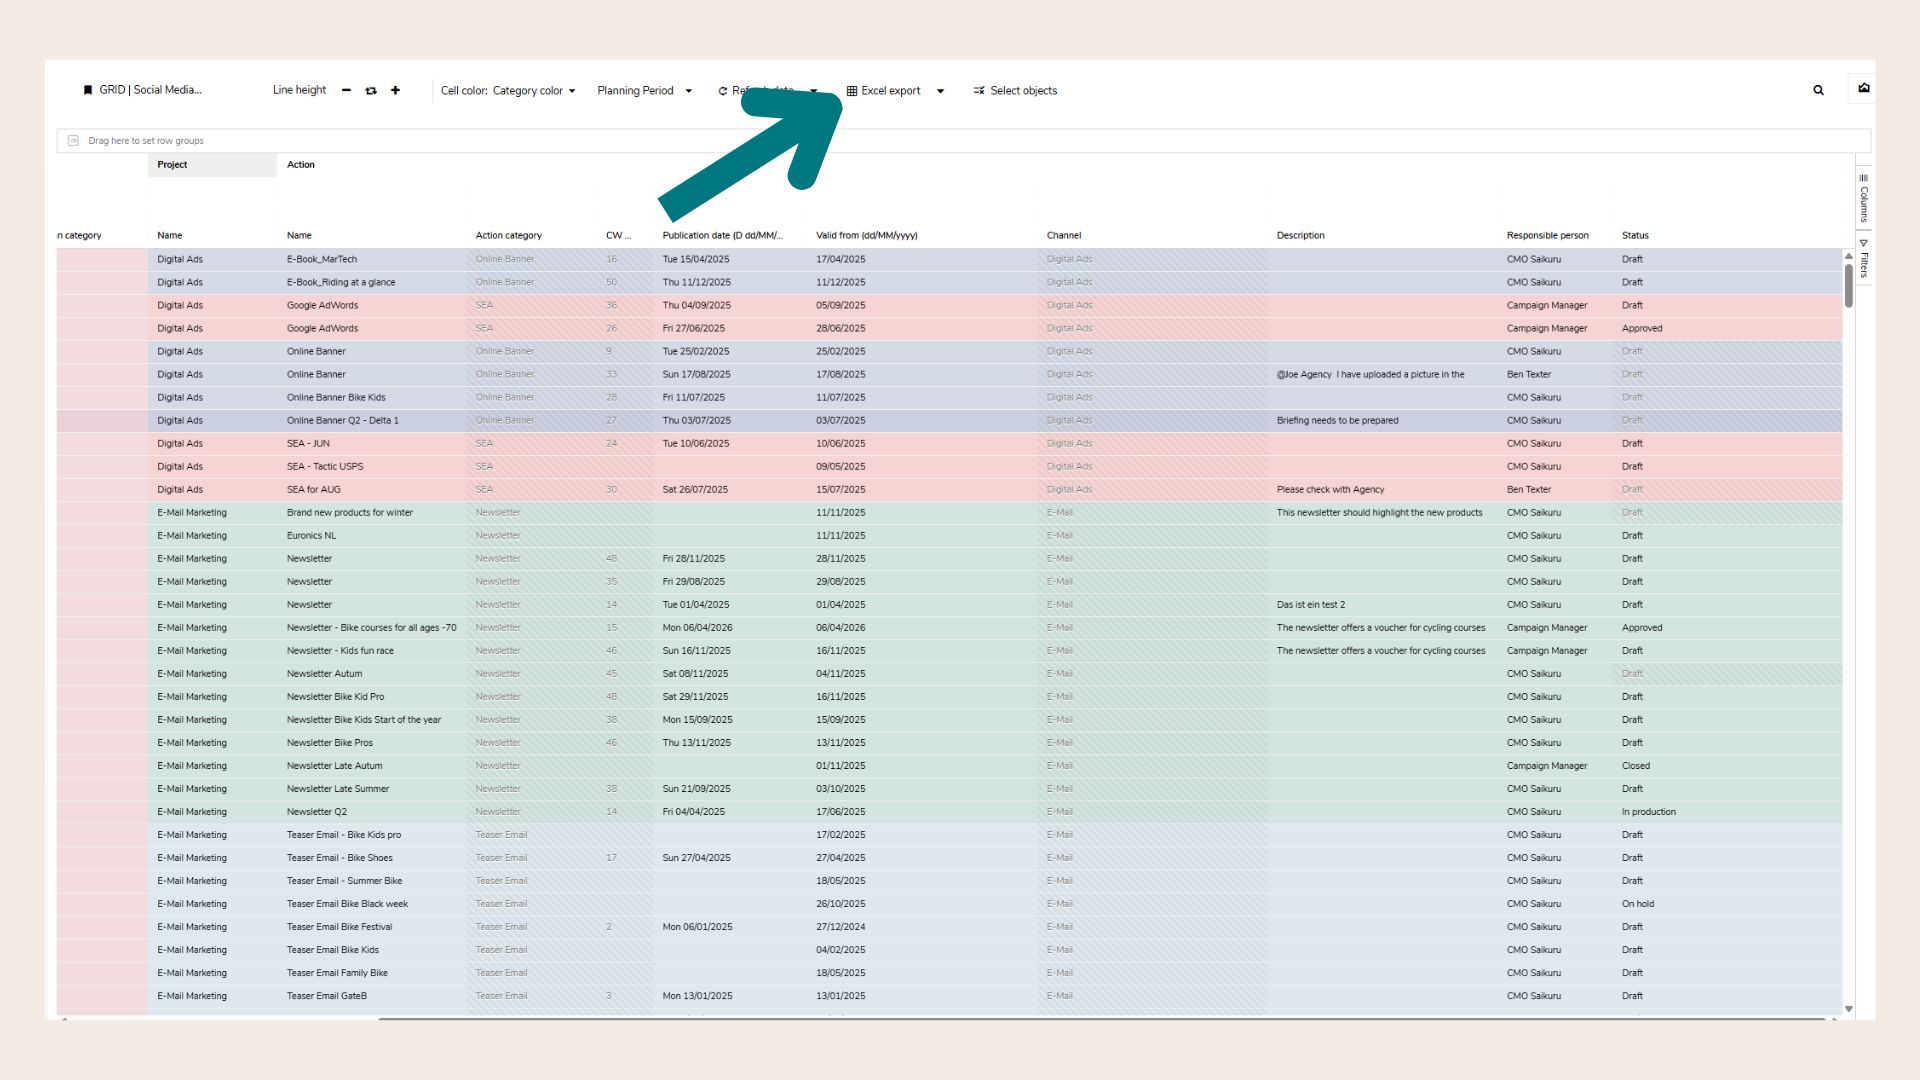
To export, click on the “Excel export” button at the top of the page.
Important Notes:
-
Rich-text fields are exported with HTML tags
-
Object color is exported using hexadecimal color codes
❓ FAQs