Summary: What You’ll Learn in This Article
This article provides a step-by-step guide to creating and configuring workflows in Marmind, including setting up steps, conditions, and transitions.
-
Creating and Modifying a Workflow
-
Defining Workflow Steps
-
Adding Conditions and Actions
-
Setting Notifications
-
Saving and Activating a Workflow
🧑🤝🧑 Who Should Read This?
This article is most useful for:
-
Marmind Users with Super-Admin rights
-
Super-Admins configuring workflow processes
✔️ Prerequisites: What Should You Know Before Getting Started?
Level: Intermediate
Access required: None
-
Basic knowledge about workflow components is required.
Creating and Modifying a Workflow
Creating a Workflow from scratch can be challenging. When setting up Marmind for your company, the Marmind Team will play a key role in making the product functional for you and configuring workflows tailored to your structures and processes. However, if your company has a team member with Super Admin permissions, they can also configure workflows independently.
For each object, Marmind provides you with a default workflow that you can then modify. You cannot create a new workflow. However, the default workflows can be modified to fit any specific needs you might have.
Make sure to familiarize yourself with navigating the Workflow module before modifying any steps.
-
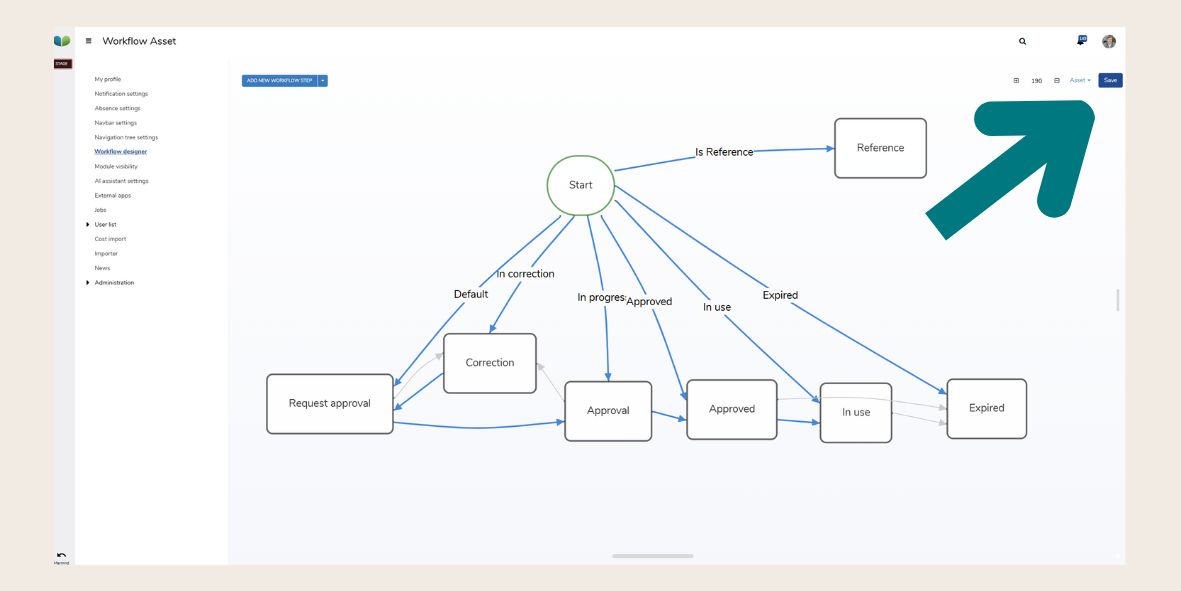
Step 1: In the Workflow Designer, click select a workflow that you want to modify.
There is only one workflow per object type possible. However, inside of this workflow you can define different workflow steps for different objects using rules.
-
Step 2: Set the starting point (e.g., “Asset Uploaded”).
A workflow always has to have a starting point. Otherwise, there is no result.
-
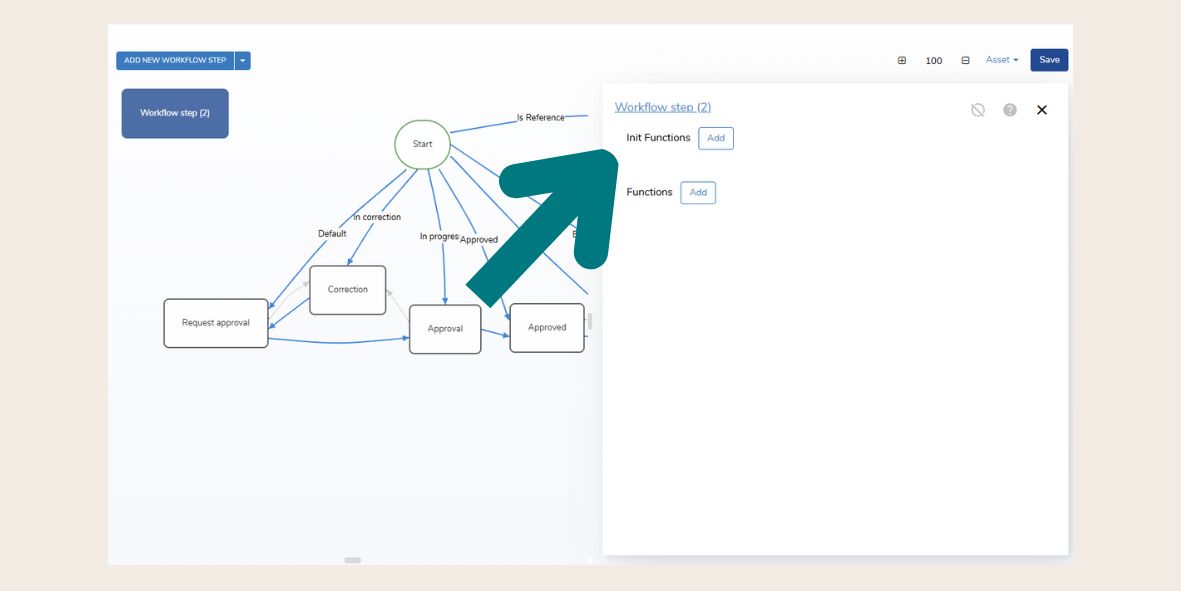
Step 3: Click Add Workflow Step in the workflow context menu and define key actions.
-
Here are some examples for workflow steps:
-
Request Approval – Users submit an asset for approval.
-
Obtain Correction – Users request modifications.
-
Approval Completed – Asset is finalized and locked.
-
-
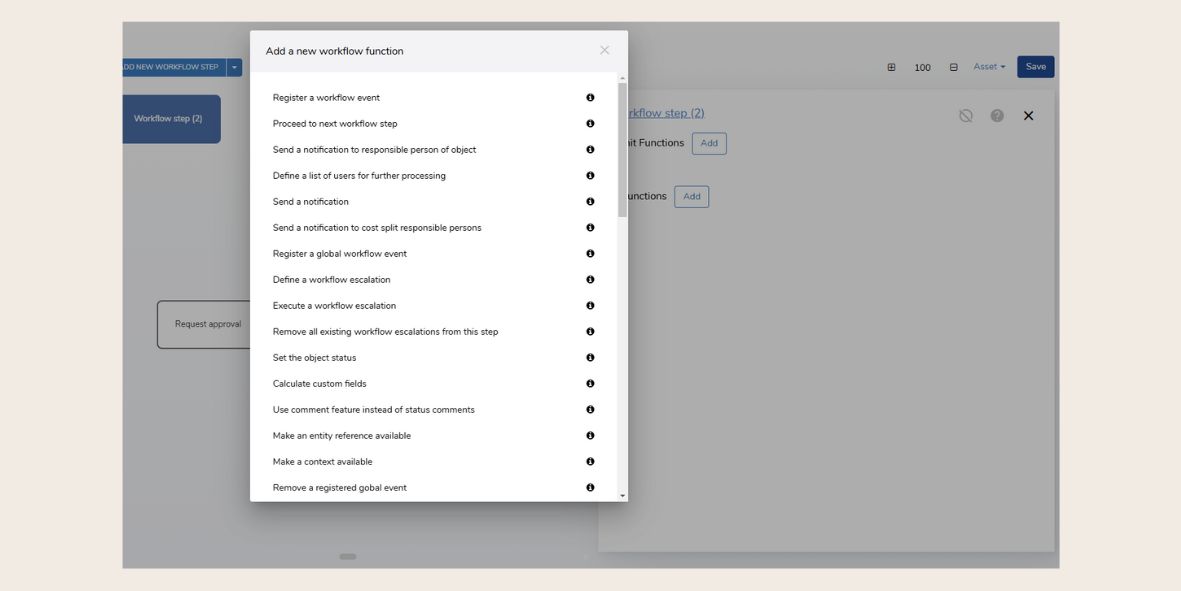
Step 4: Use Workflow Decisions to set conditions (e.g., “Is this a Key Campaign?”).
-
Step 5: Assign Workflow Transitions to define the next step based on actions.
-
Step 6: Configure user responsibilities, defining which teams can act on specific steps.
-
Step 7: Use the Notification Module to send alerts when:
-
An approval is required.
-
A correction is needed.
-
The workflow is completed.
-

-
Step 8: Click Save to finalize the workflow.
❓ FAQs